Instructions
Welcome to the Build-Your-Own Kraken kit instructions! This guide provides step-by-step instructions to assemble your own mini-Kraken! Follow the directions carefully for the correct assembly order and orientation for each piece.
You will need:
-glue (gel superglue or CA glue recommended, but can also be done with Elmers, wood glue, or Duco Cement)
-file or sandpaper

Each part (or group of parts) is numbered on the sheet to help you identify the right pieces.
Each piece is held in the sheet by small tabs (difficult to see. but indicated on the picture above). Each piece will have between 2-4 tabs holding it in. These will give with minor pressure – you do not have press very hard to remove each piece! You may wish to trim the tabs or use sandpaper to smooth them, but this is not required to assemble.
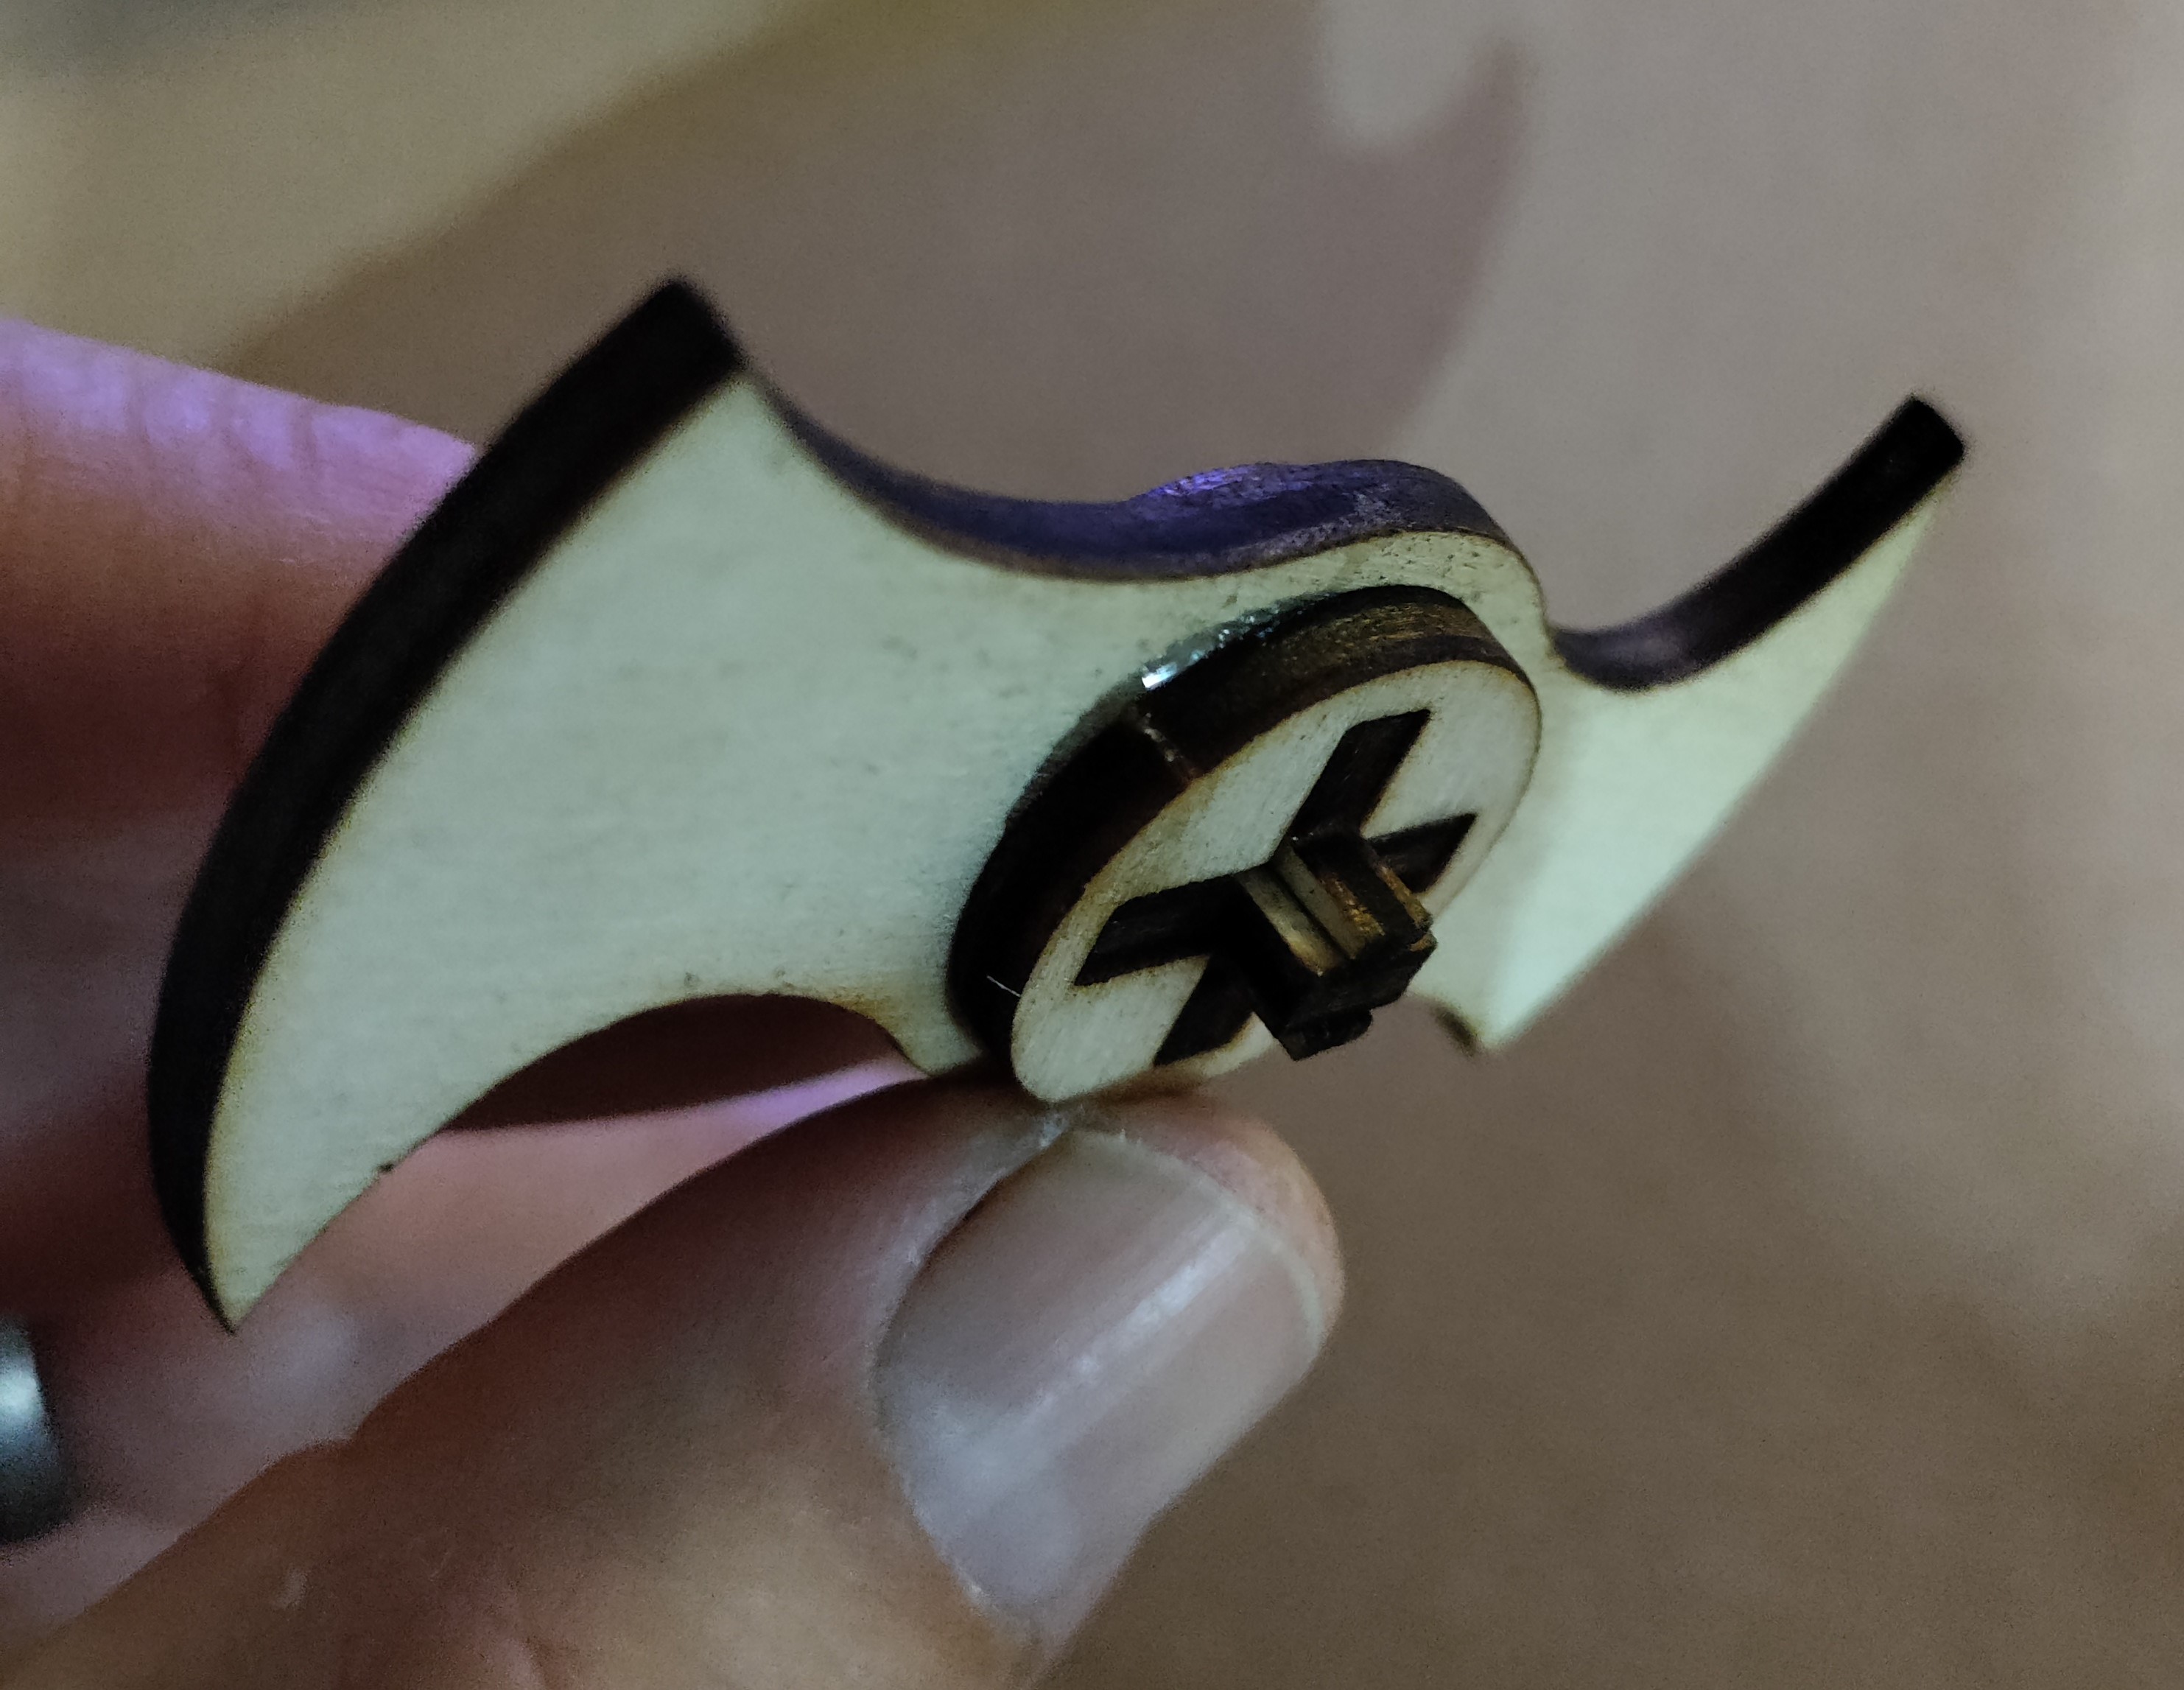
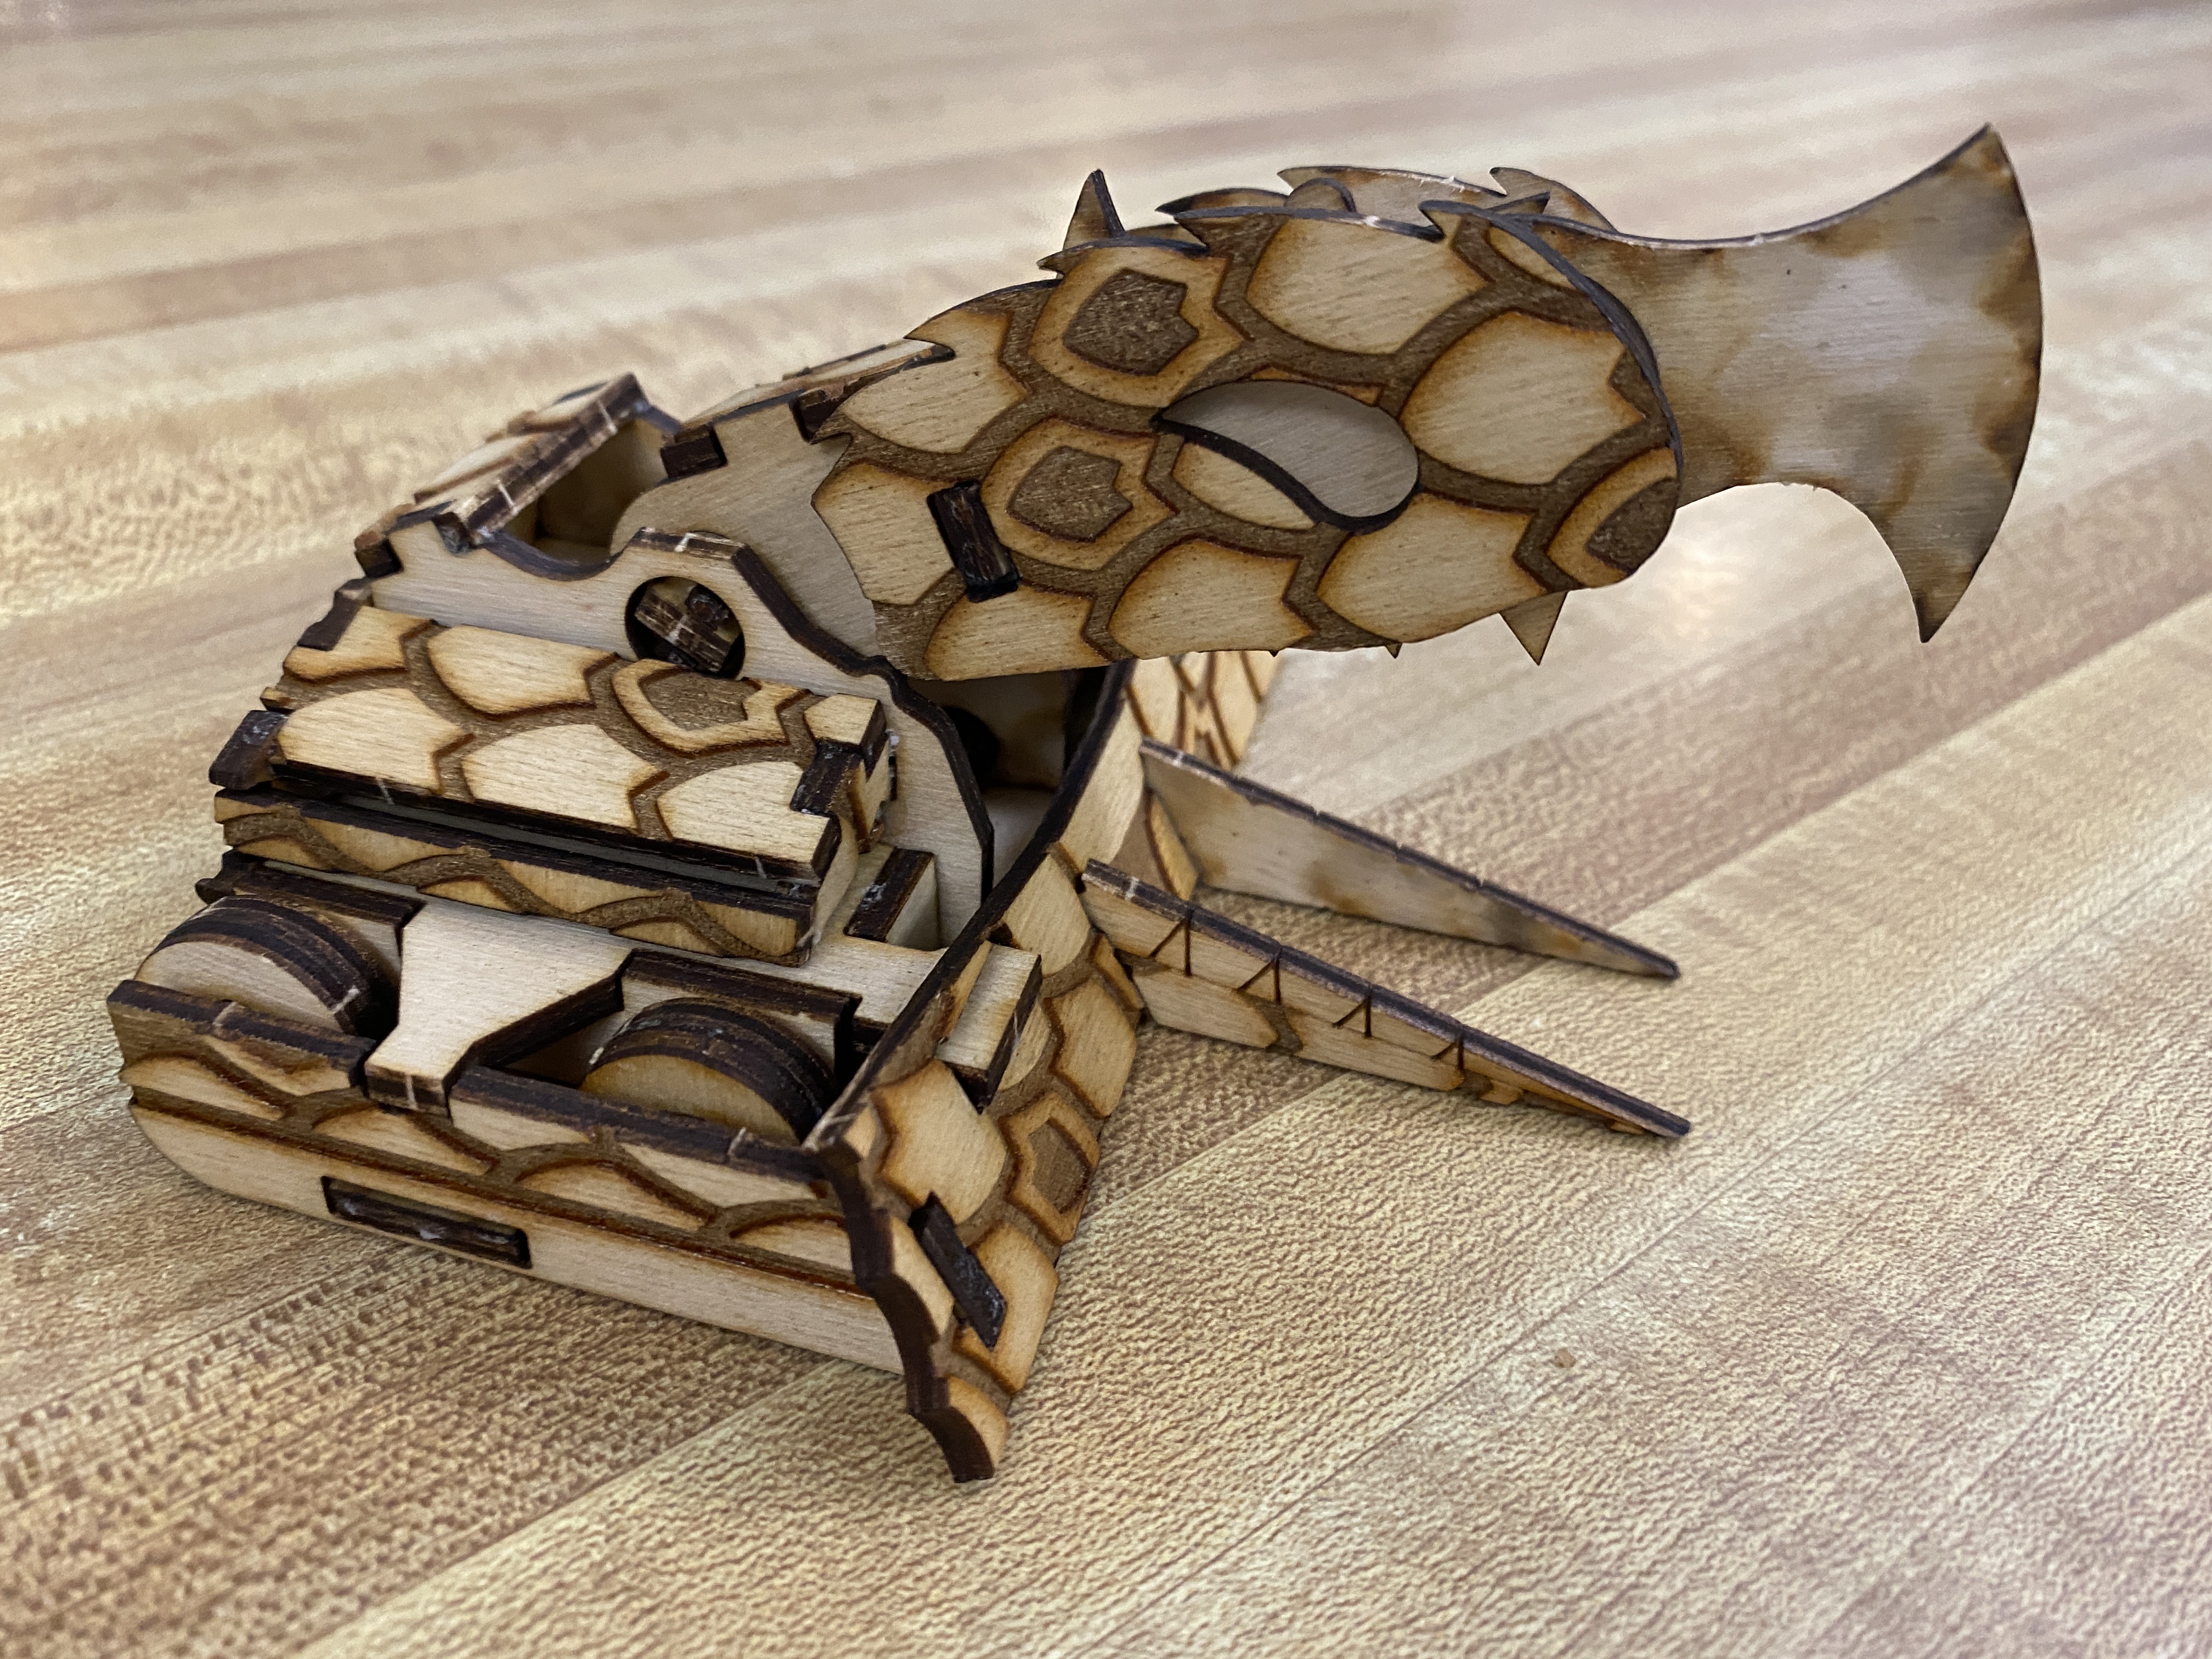
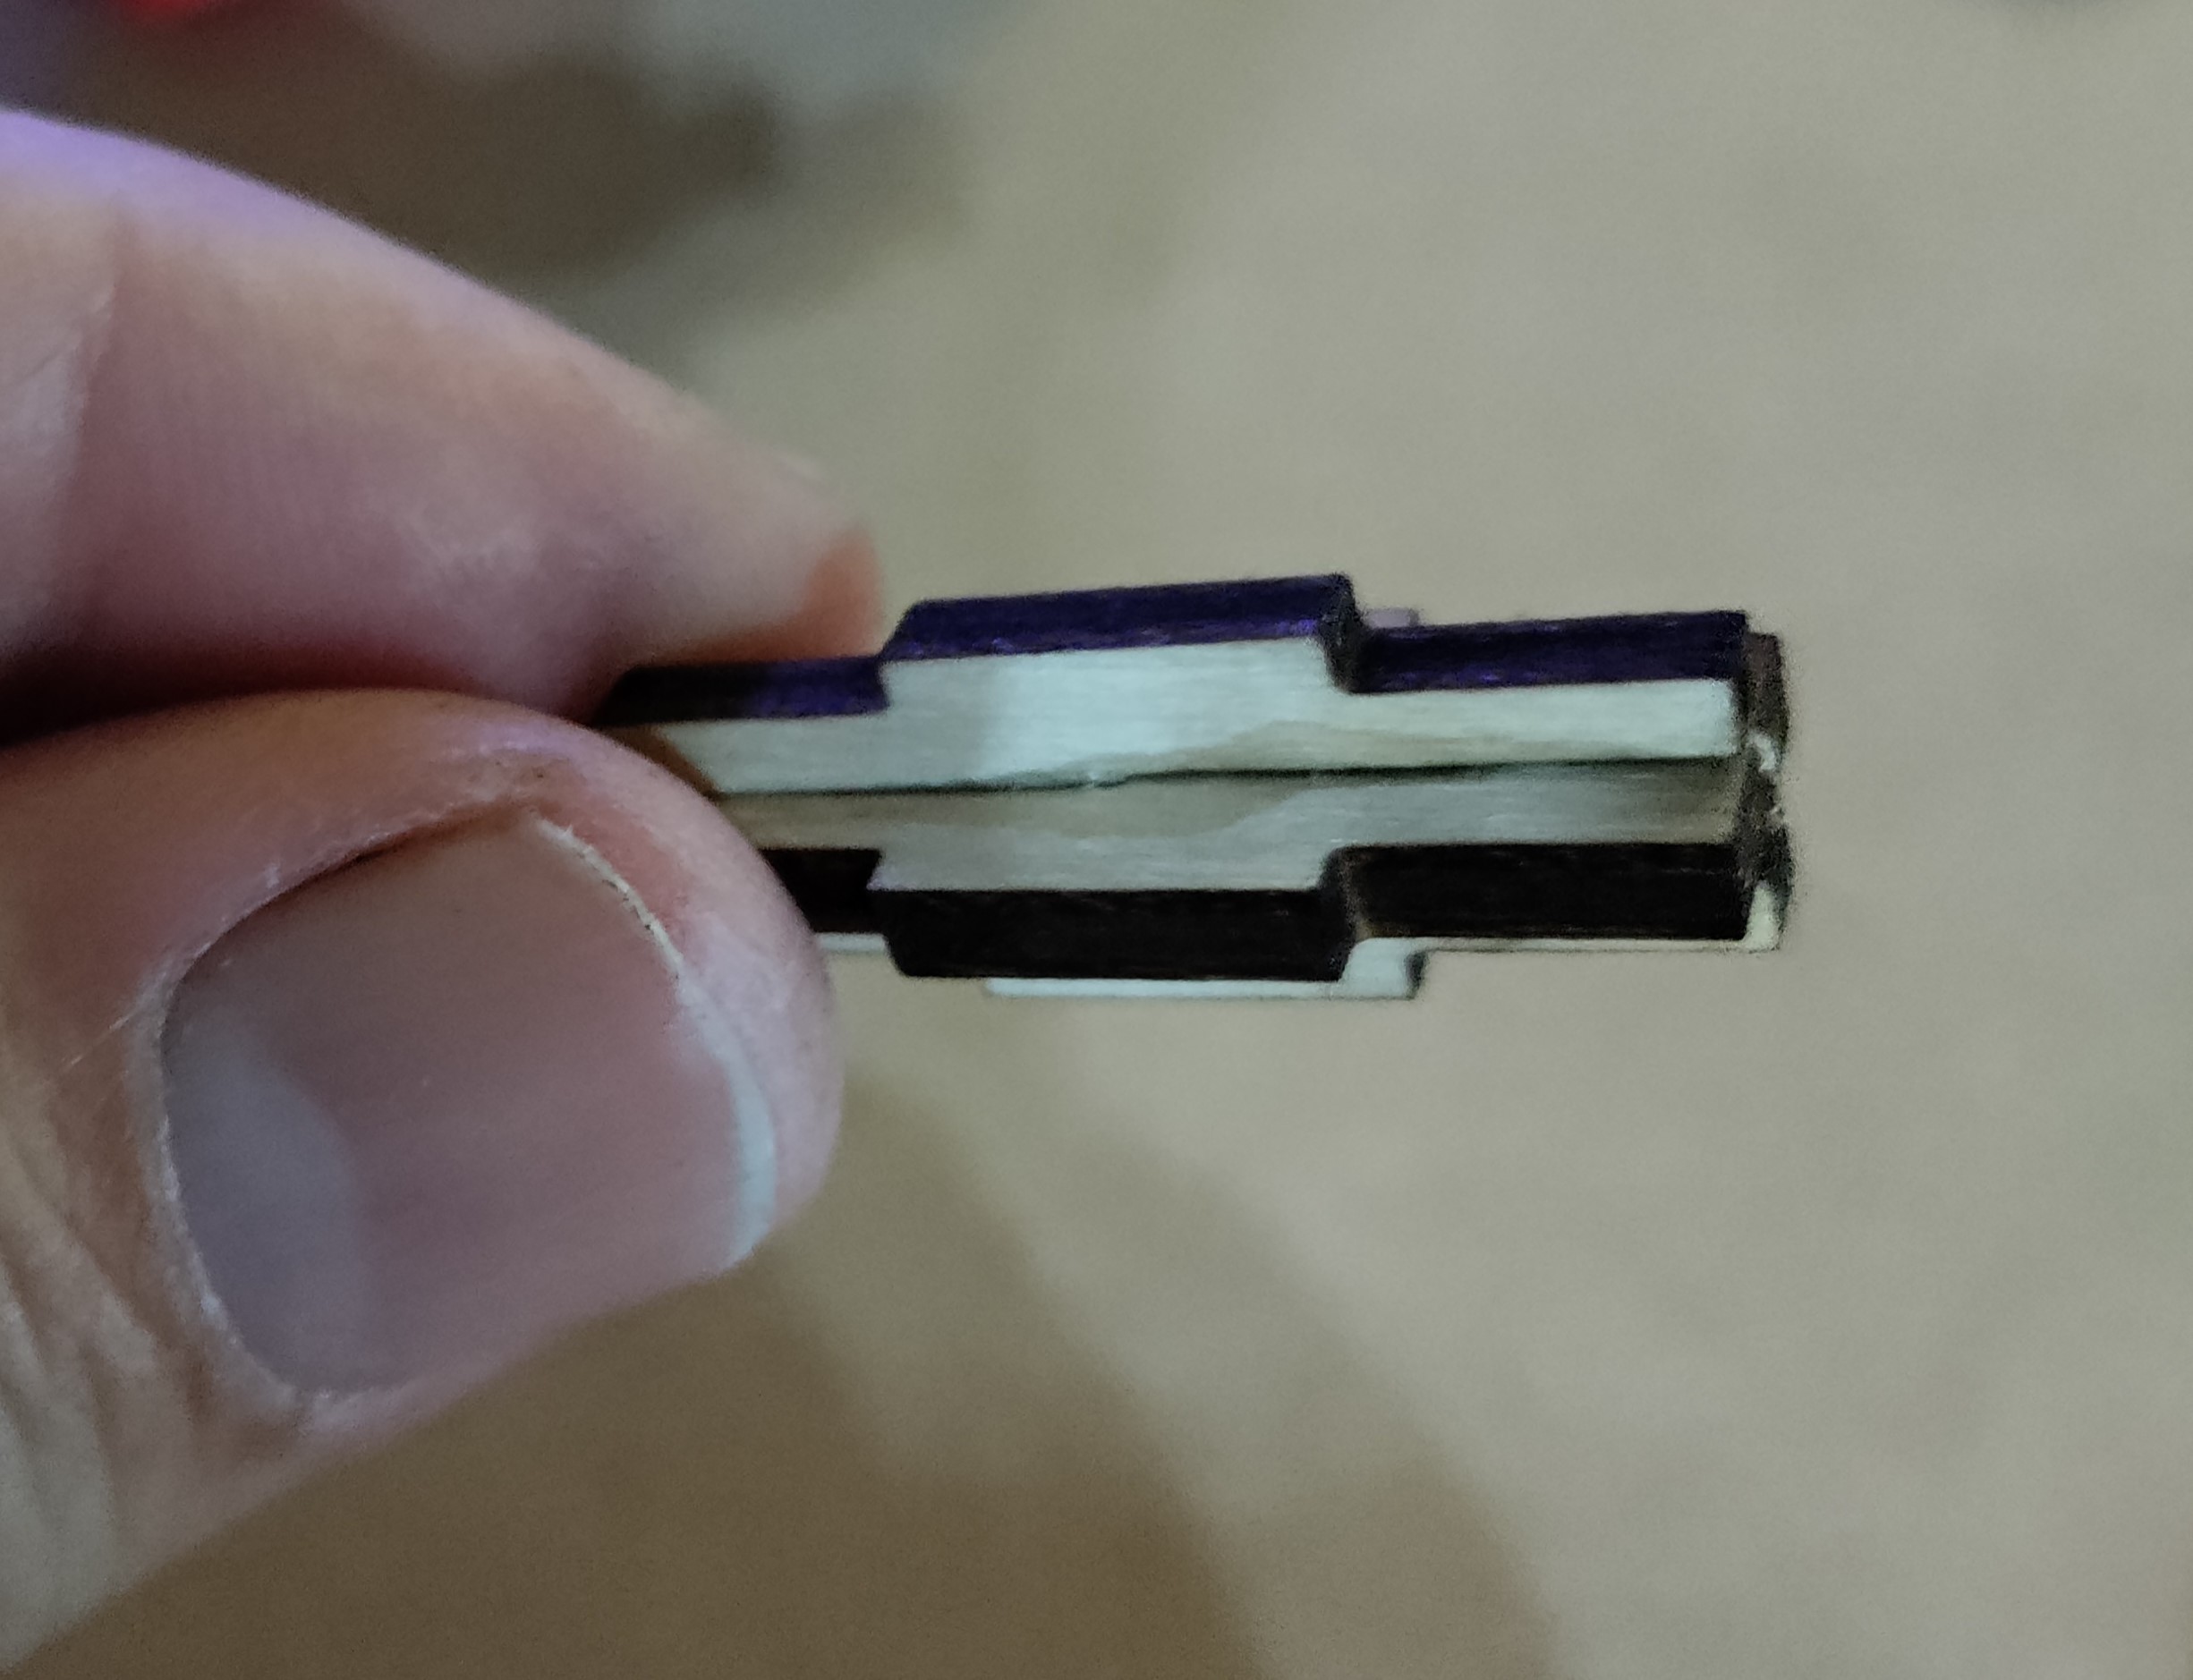
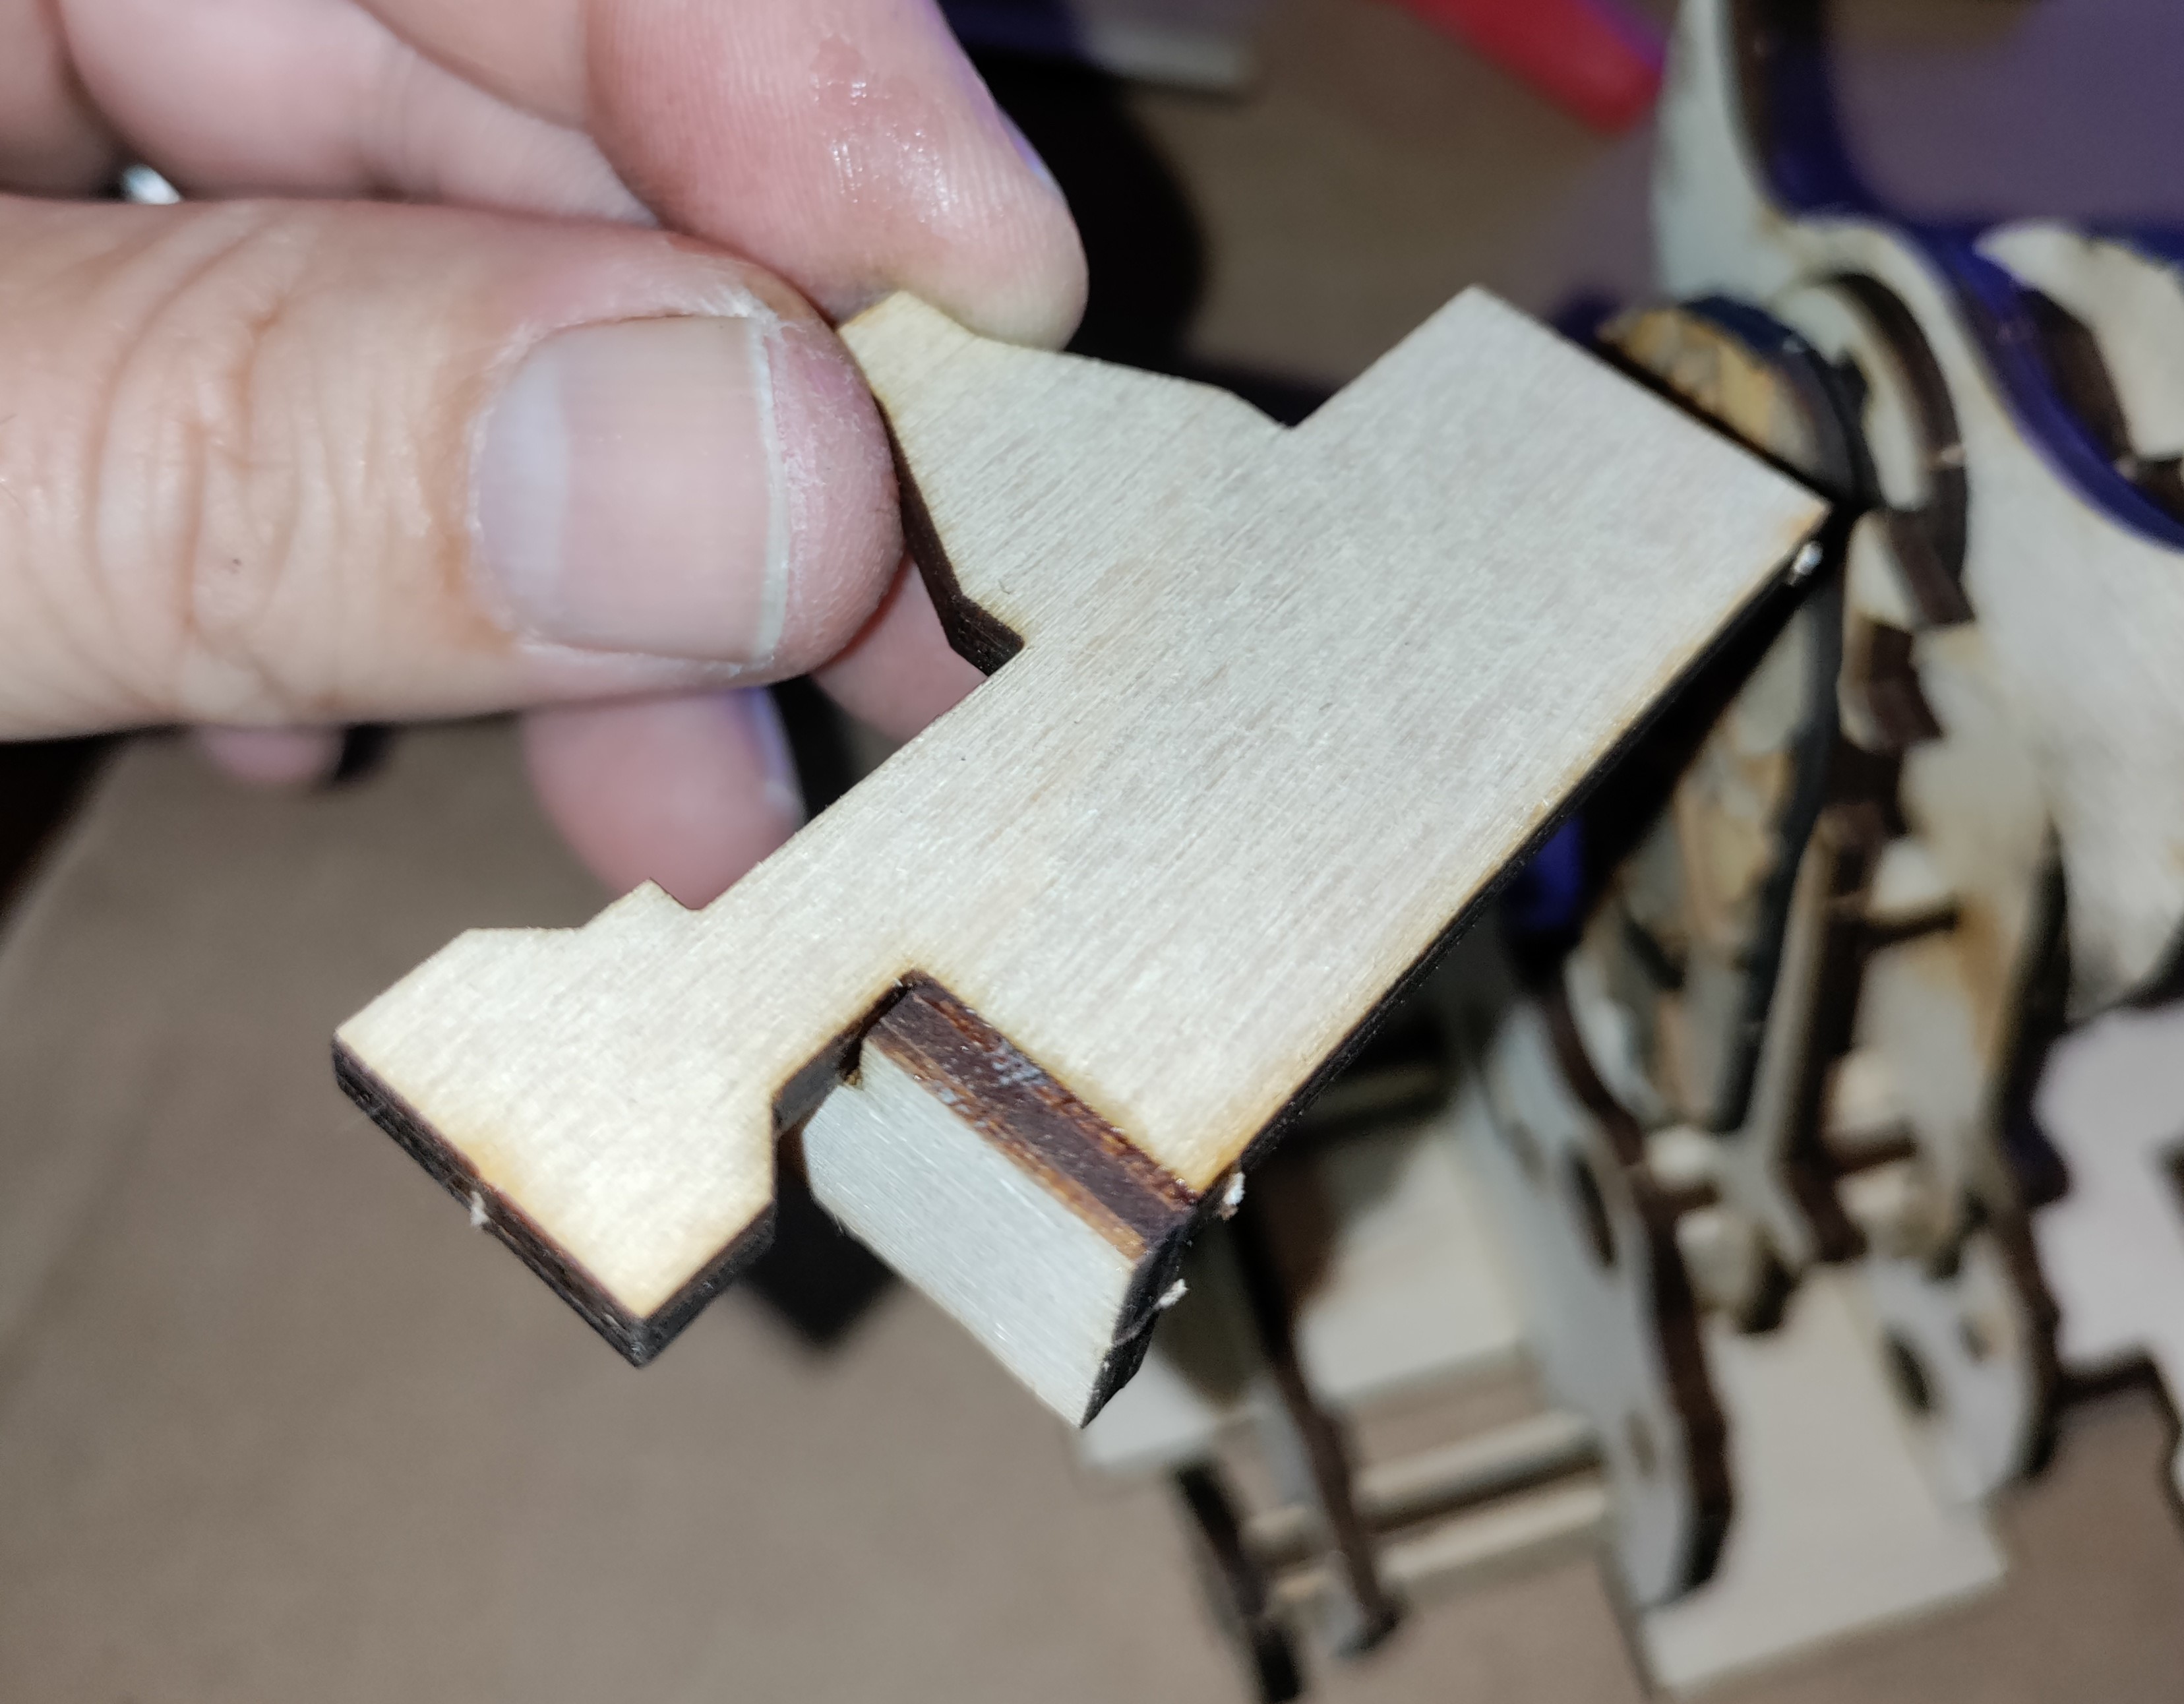
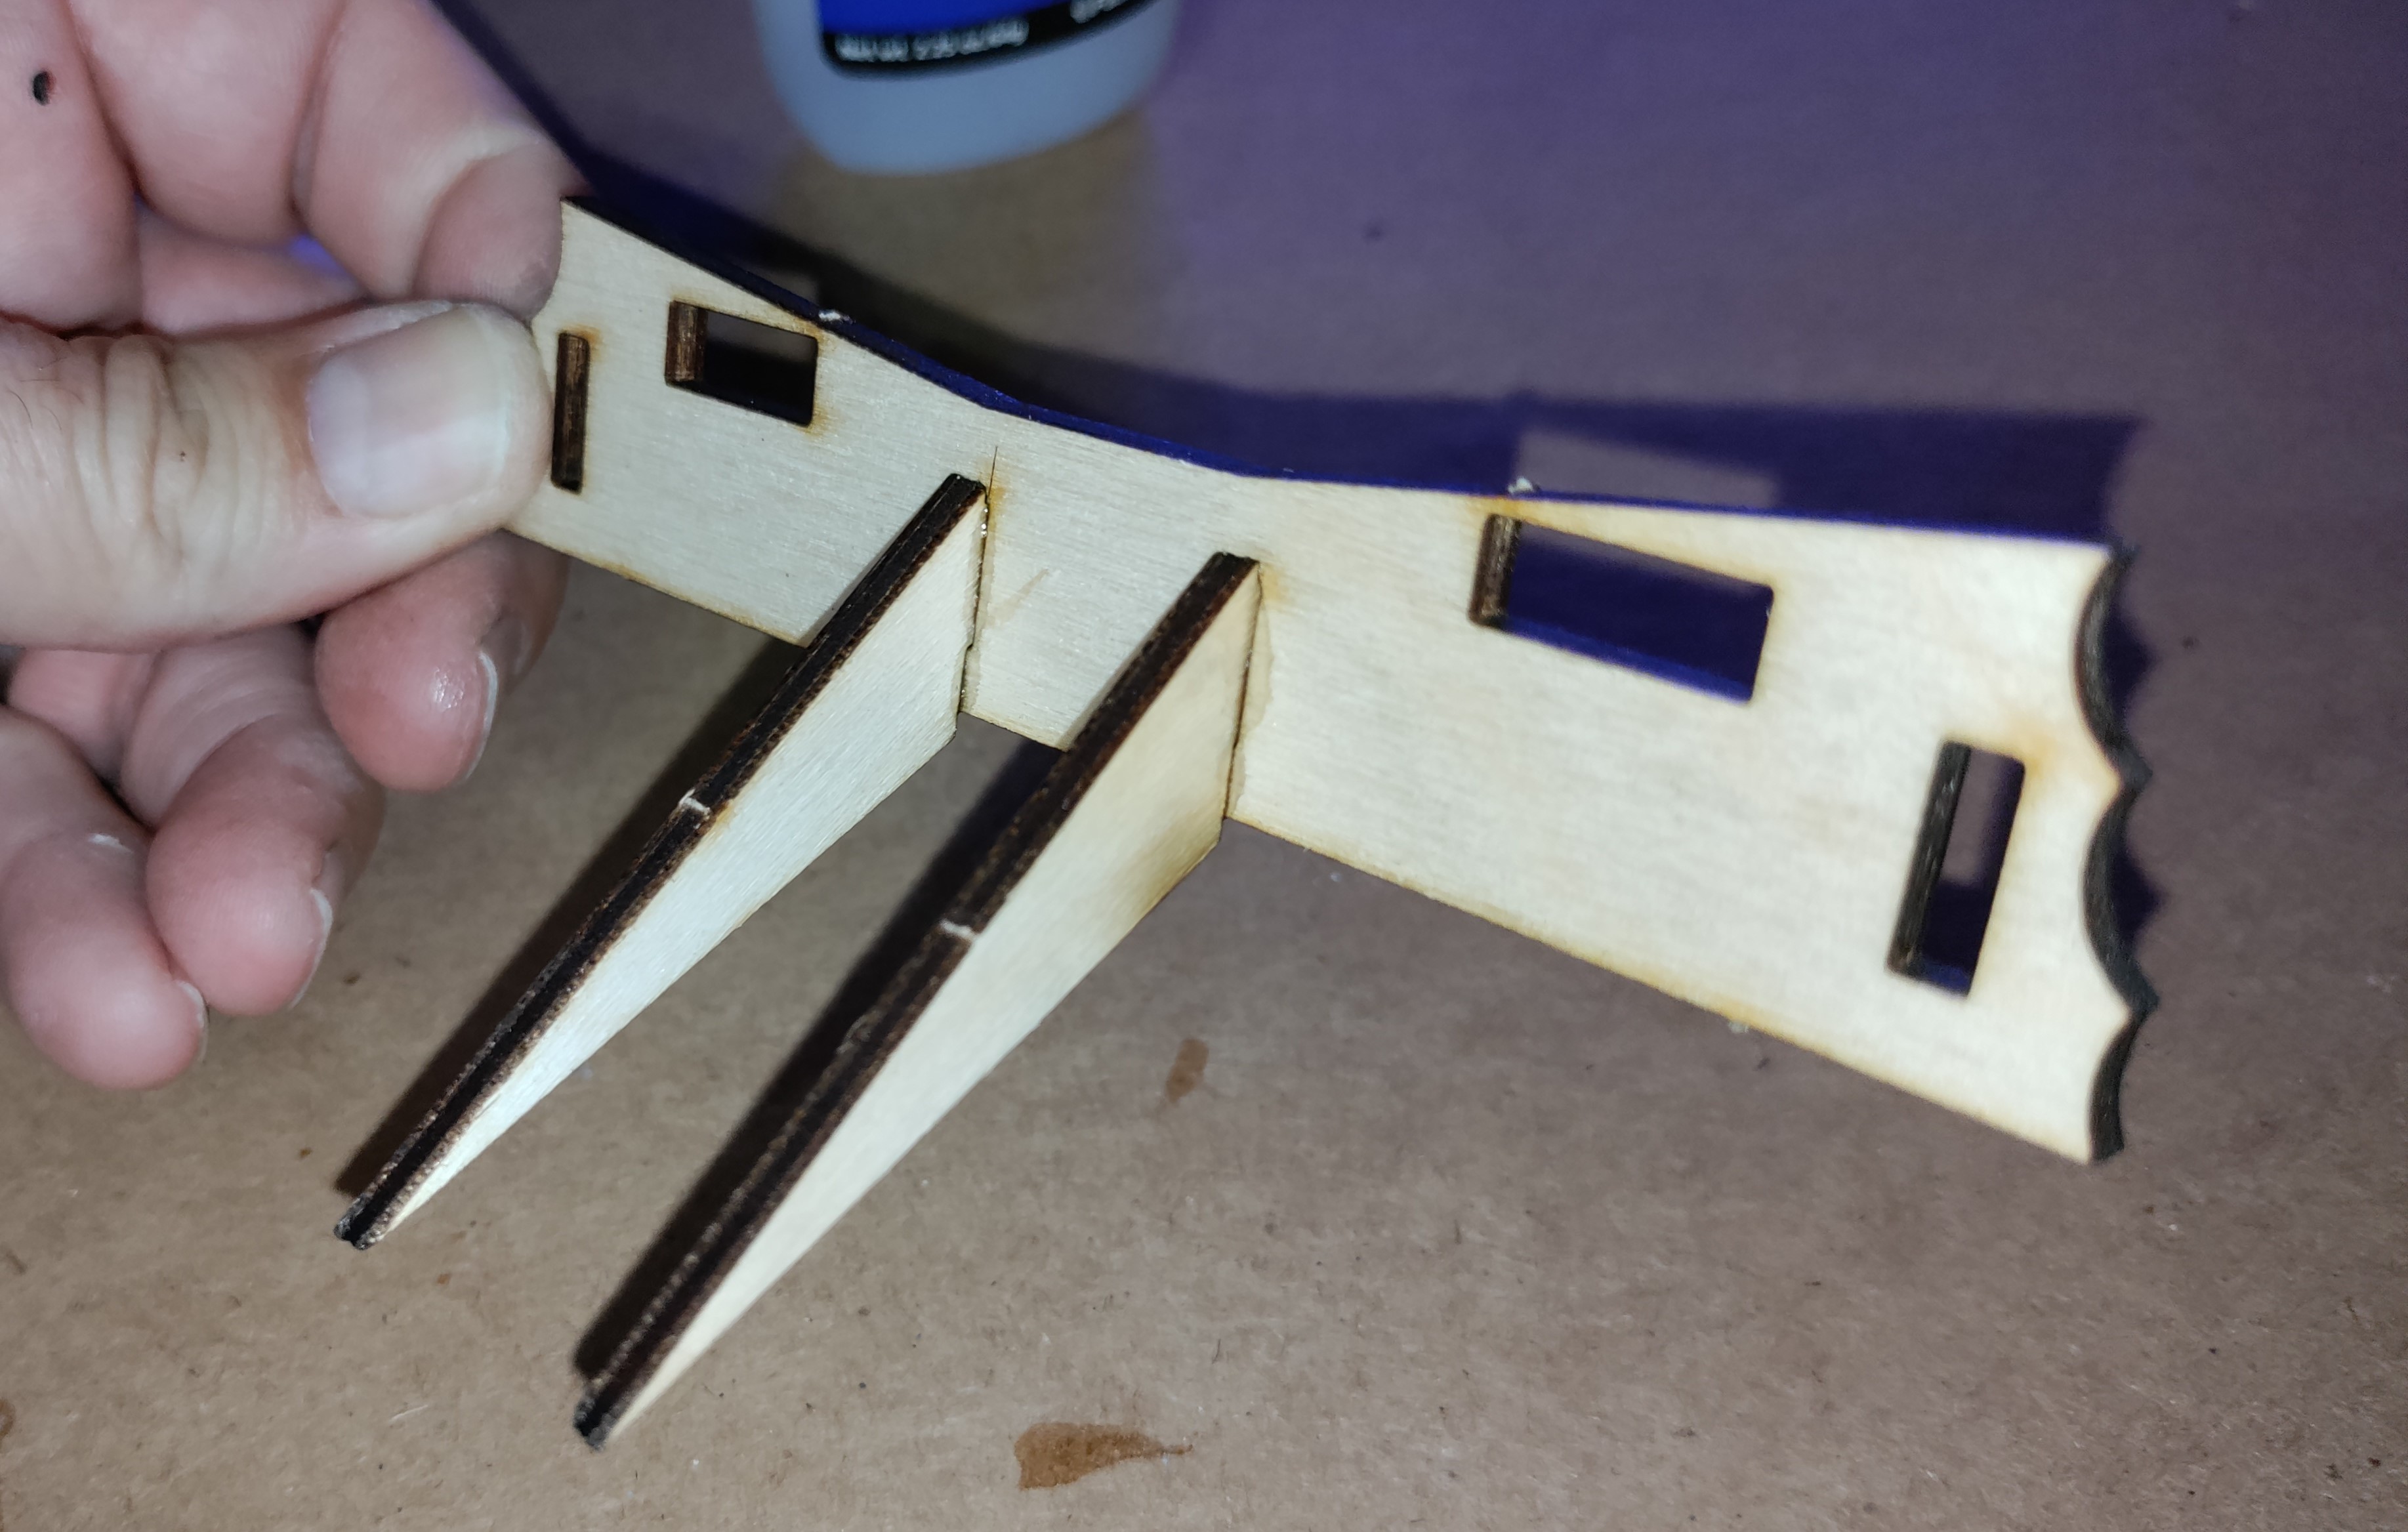
Remove piece (1), both (2) pieces, and both (3) pieces. Slot the (2) pieces together, slide it into (1), and put one piece (3) on each side as shown. Glue all pieces together. This is Kraken’s Weapon.
Remove both (6) pieces, slot together, and glue as shown. This is Kraken’s Jaw Axle.
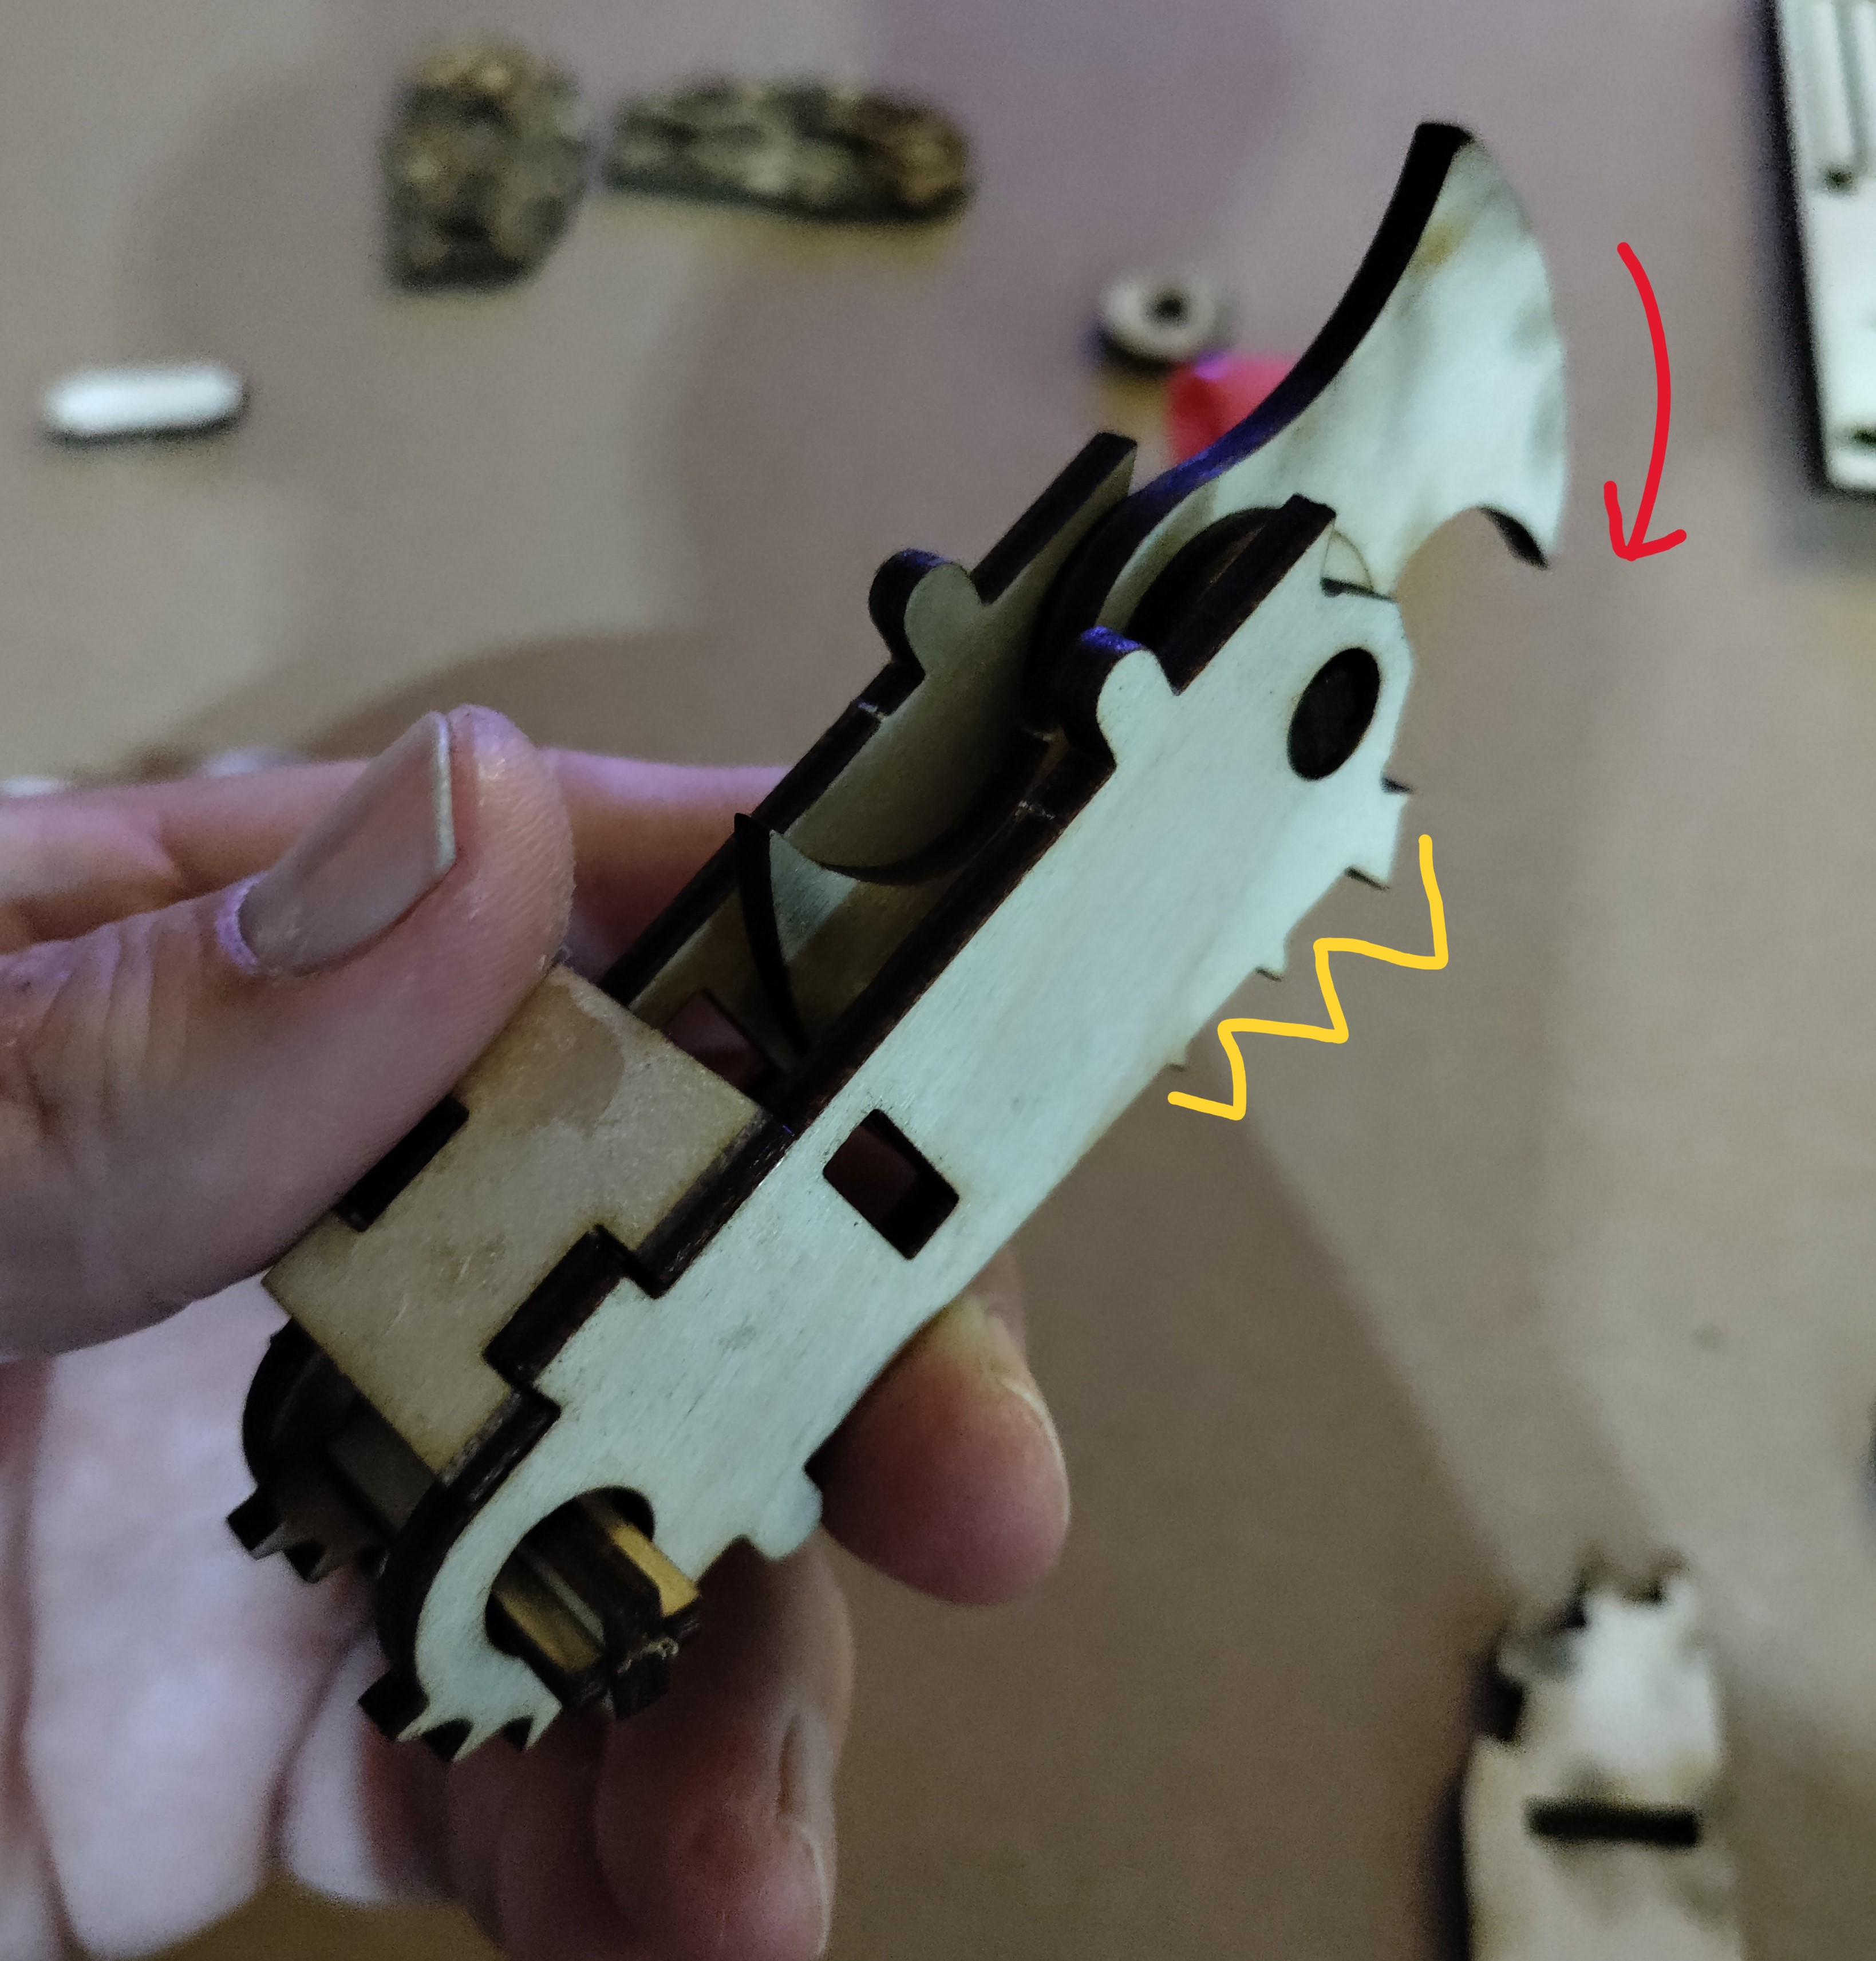
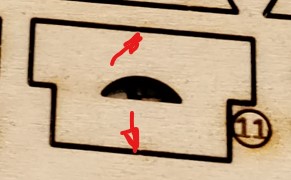
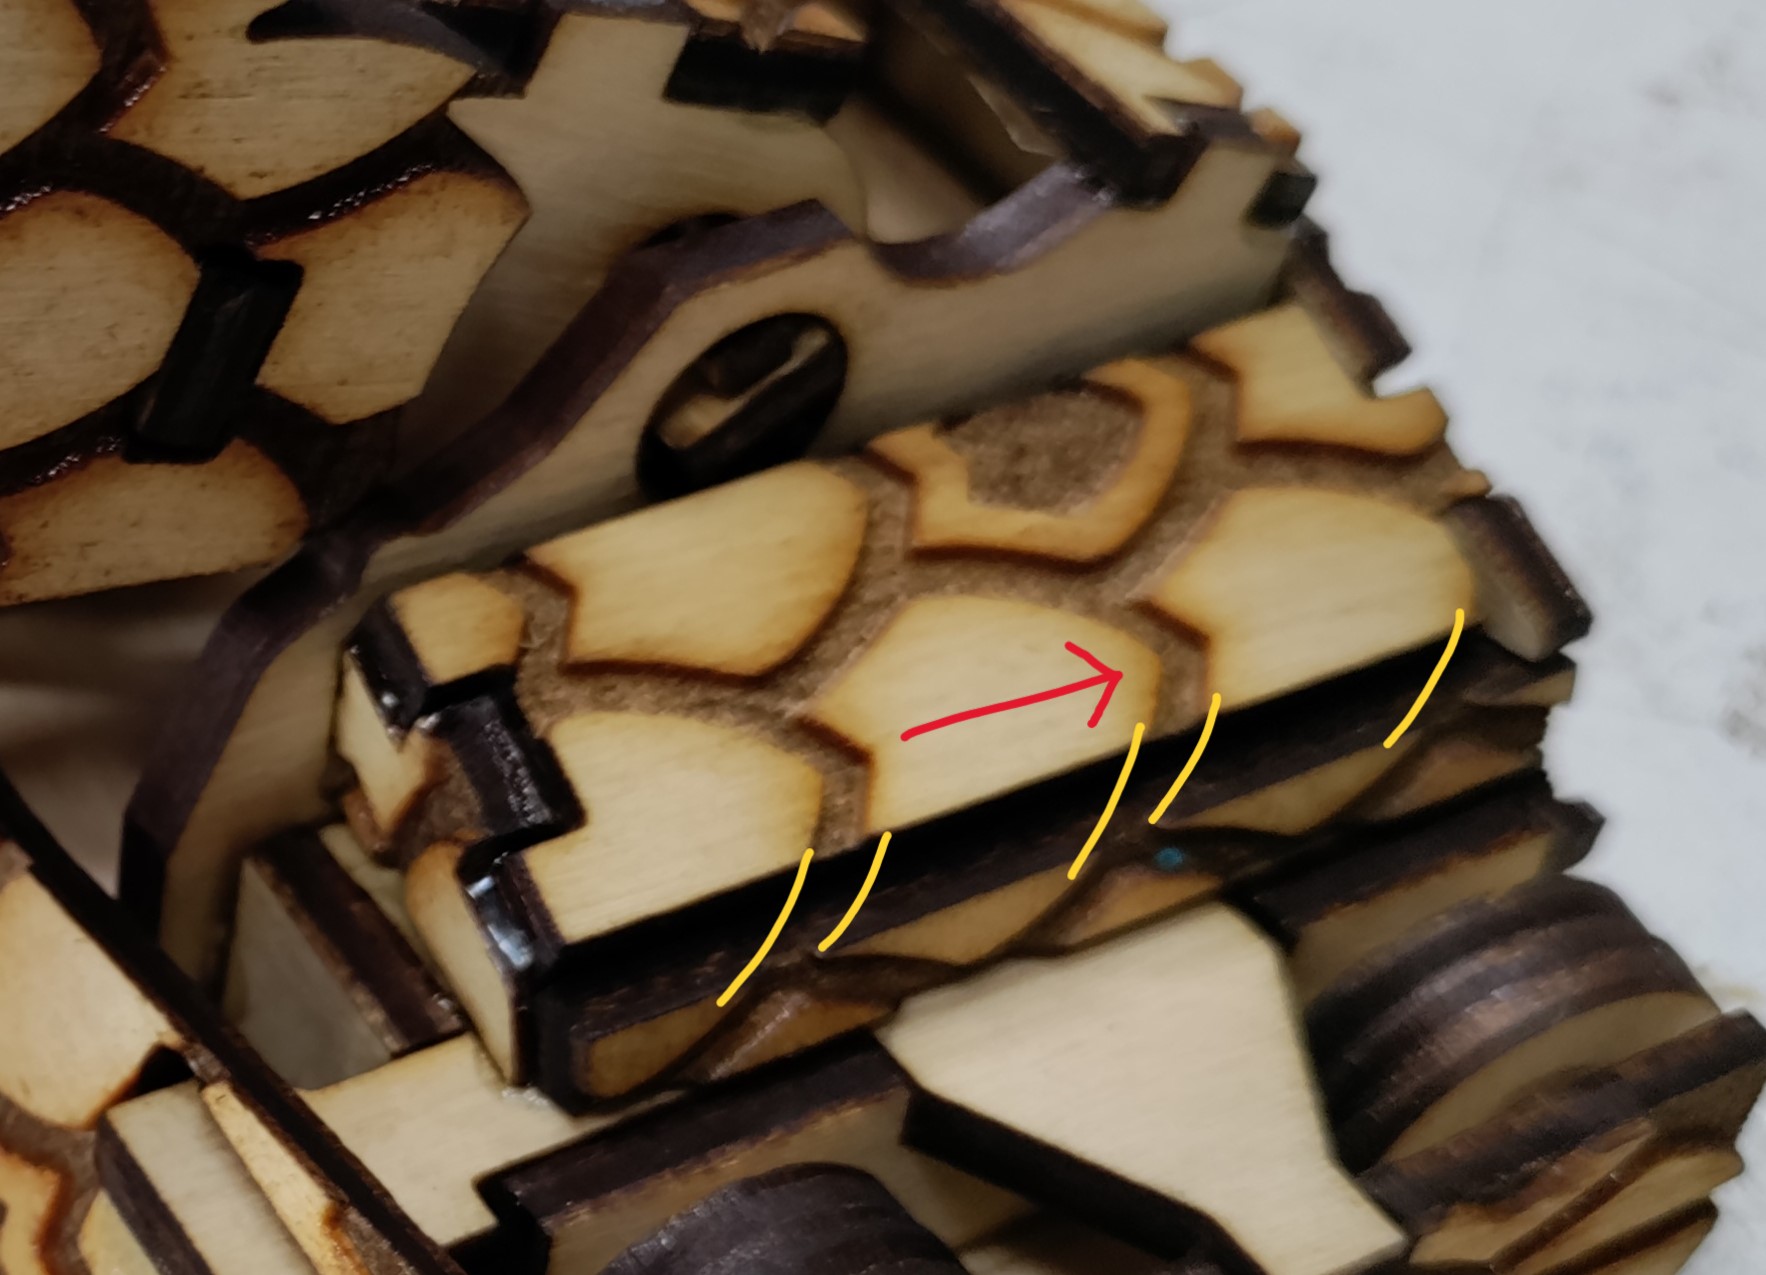
Remove both (5) pieces, piece (7), piece (8), and both (26) pieces. Take the Weapon and Jaw Axle and insert as shown between both (5) pieces. The “pointier” part of the weapon blade (red arrow above) should go down towards the teeth (in yellow above). Glue (8) on top. Keep both (5) pieces parallel to each other by eye, and make sure the Weapon and Jaw Axle can rotate freely. Center (7) into remaining slot and glue into place. Glue Kraken’s head pieces (26) onto tabs on (7) on each side. Place to the side to dry.
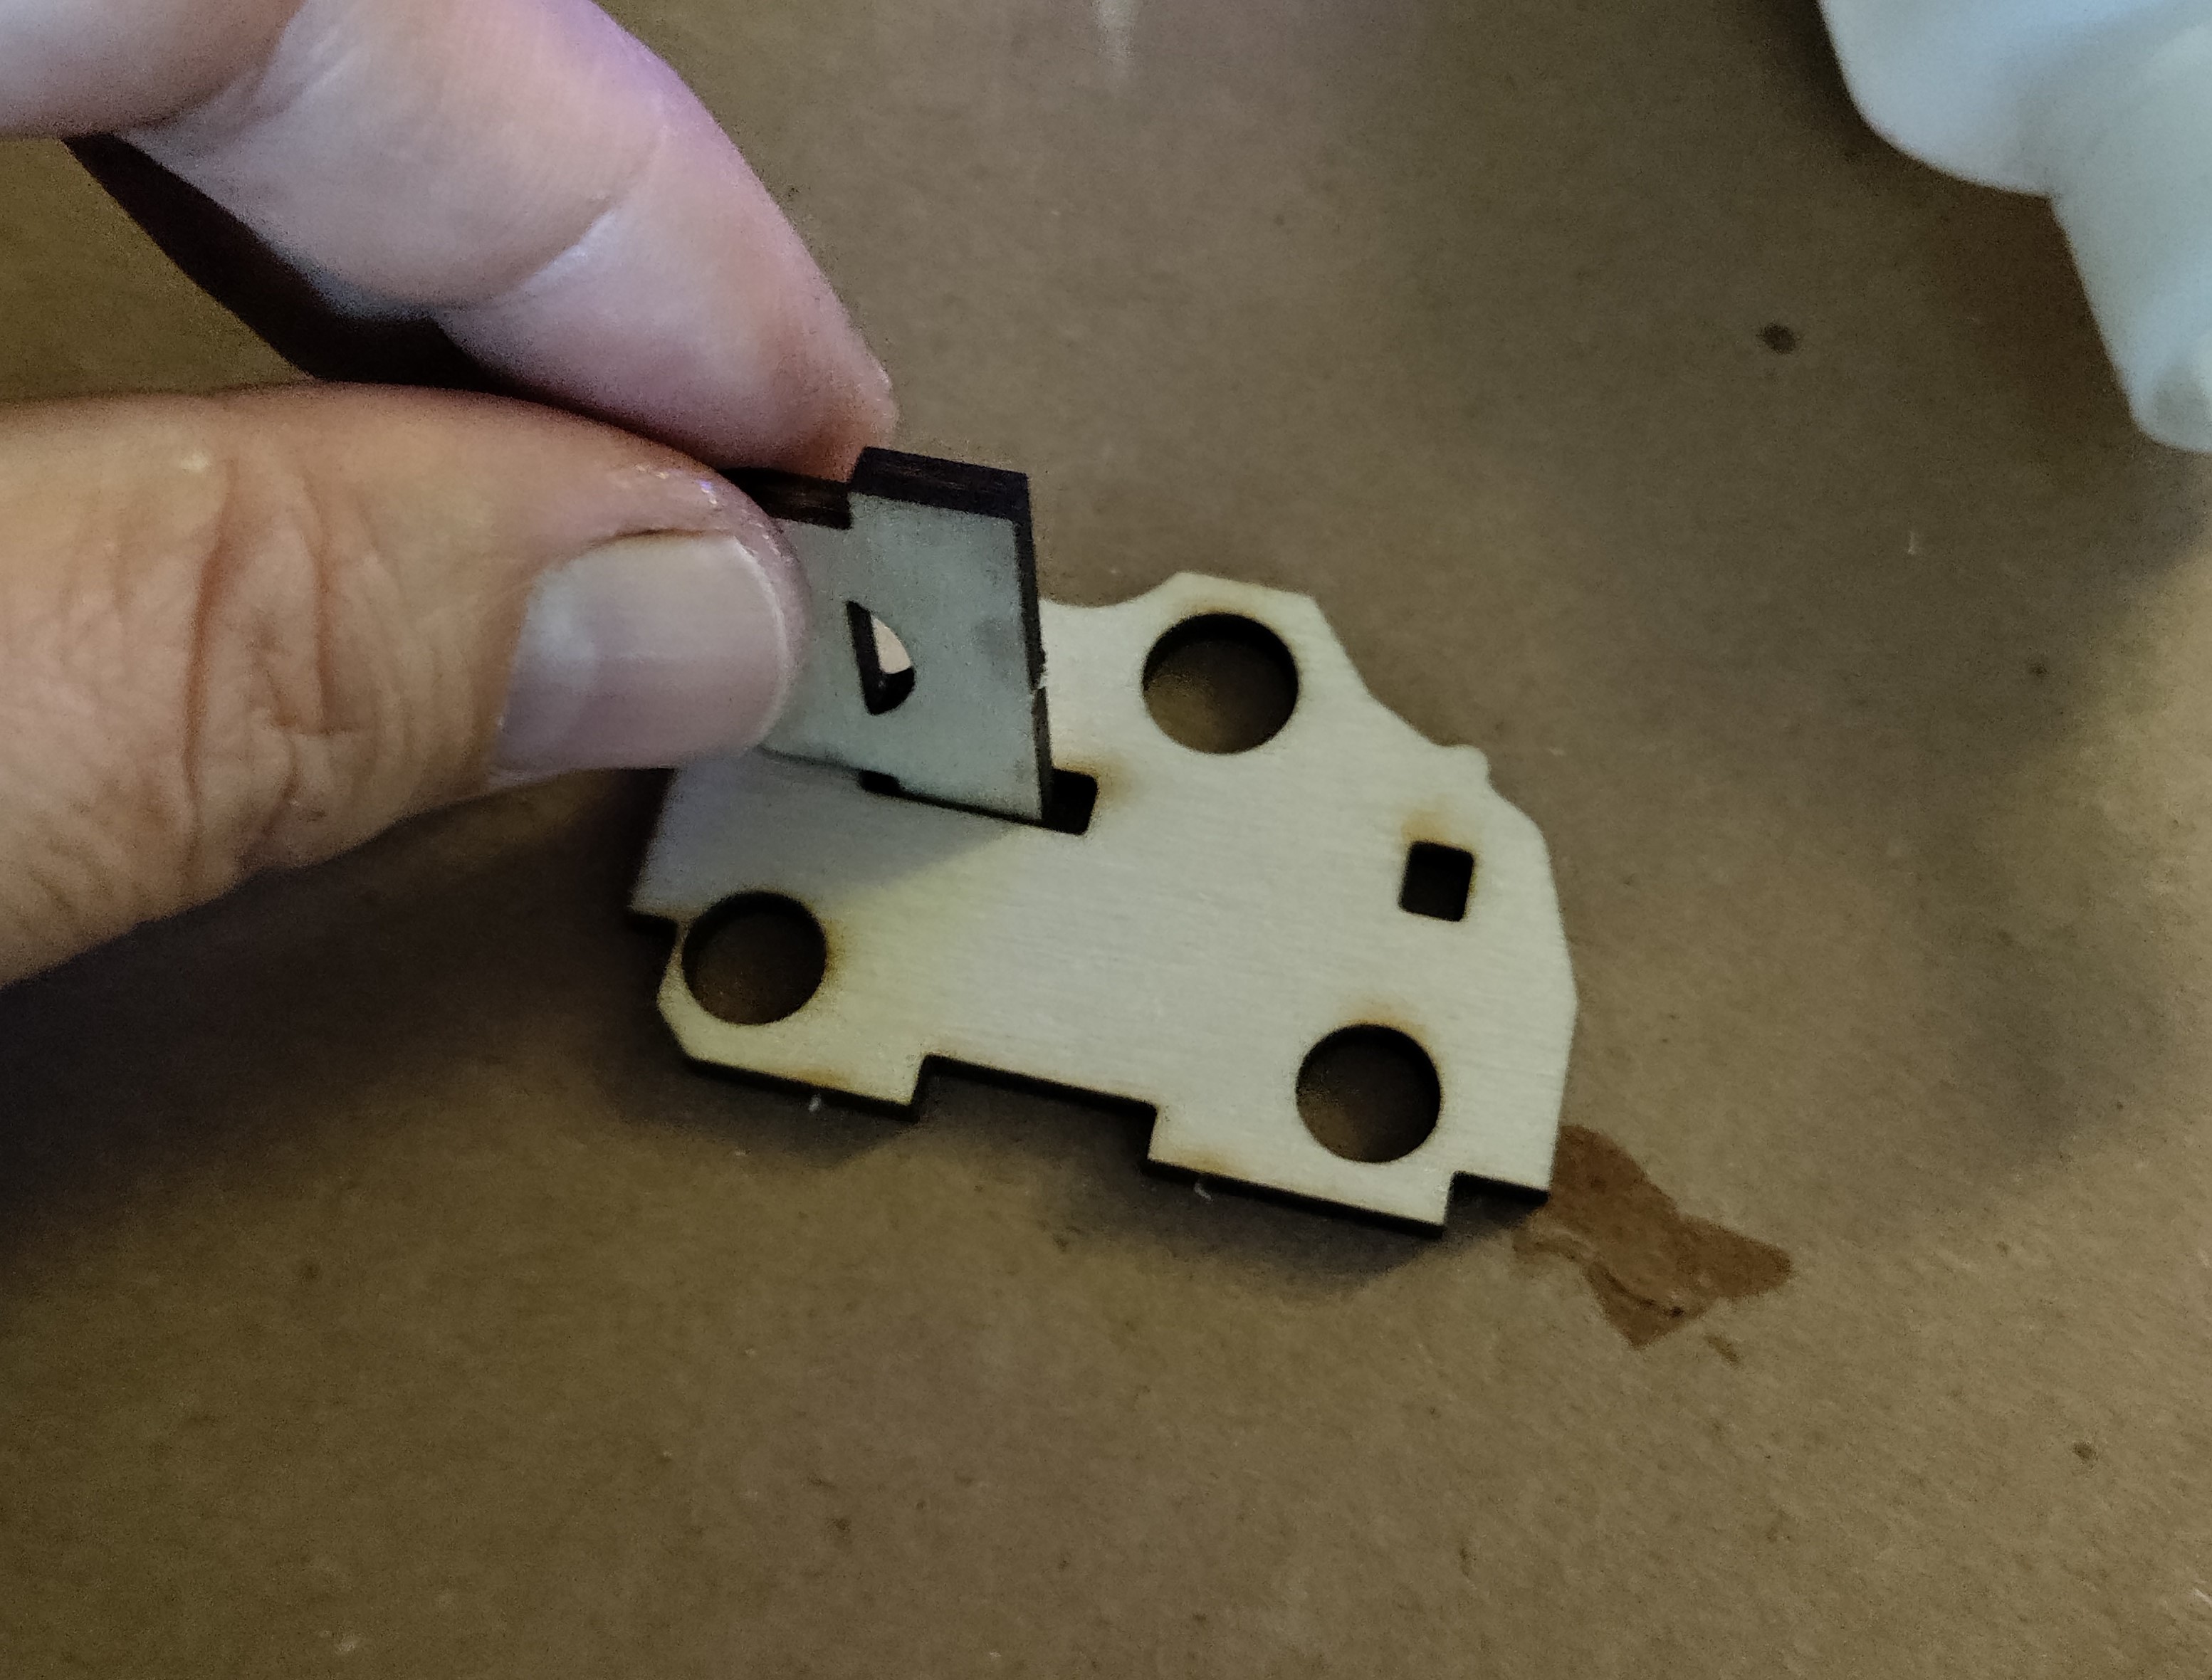
Remove pieces (10) and (11). Insert (11) into the slot in (10) but DO NOT GLUE. Piece (11) needs to slide back and forth in this slot to control Kraken’s jaw position.
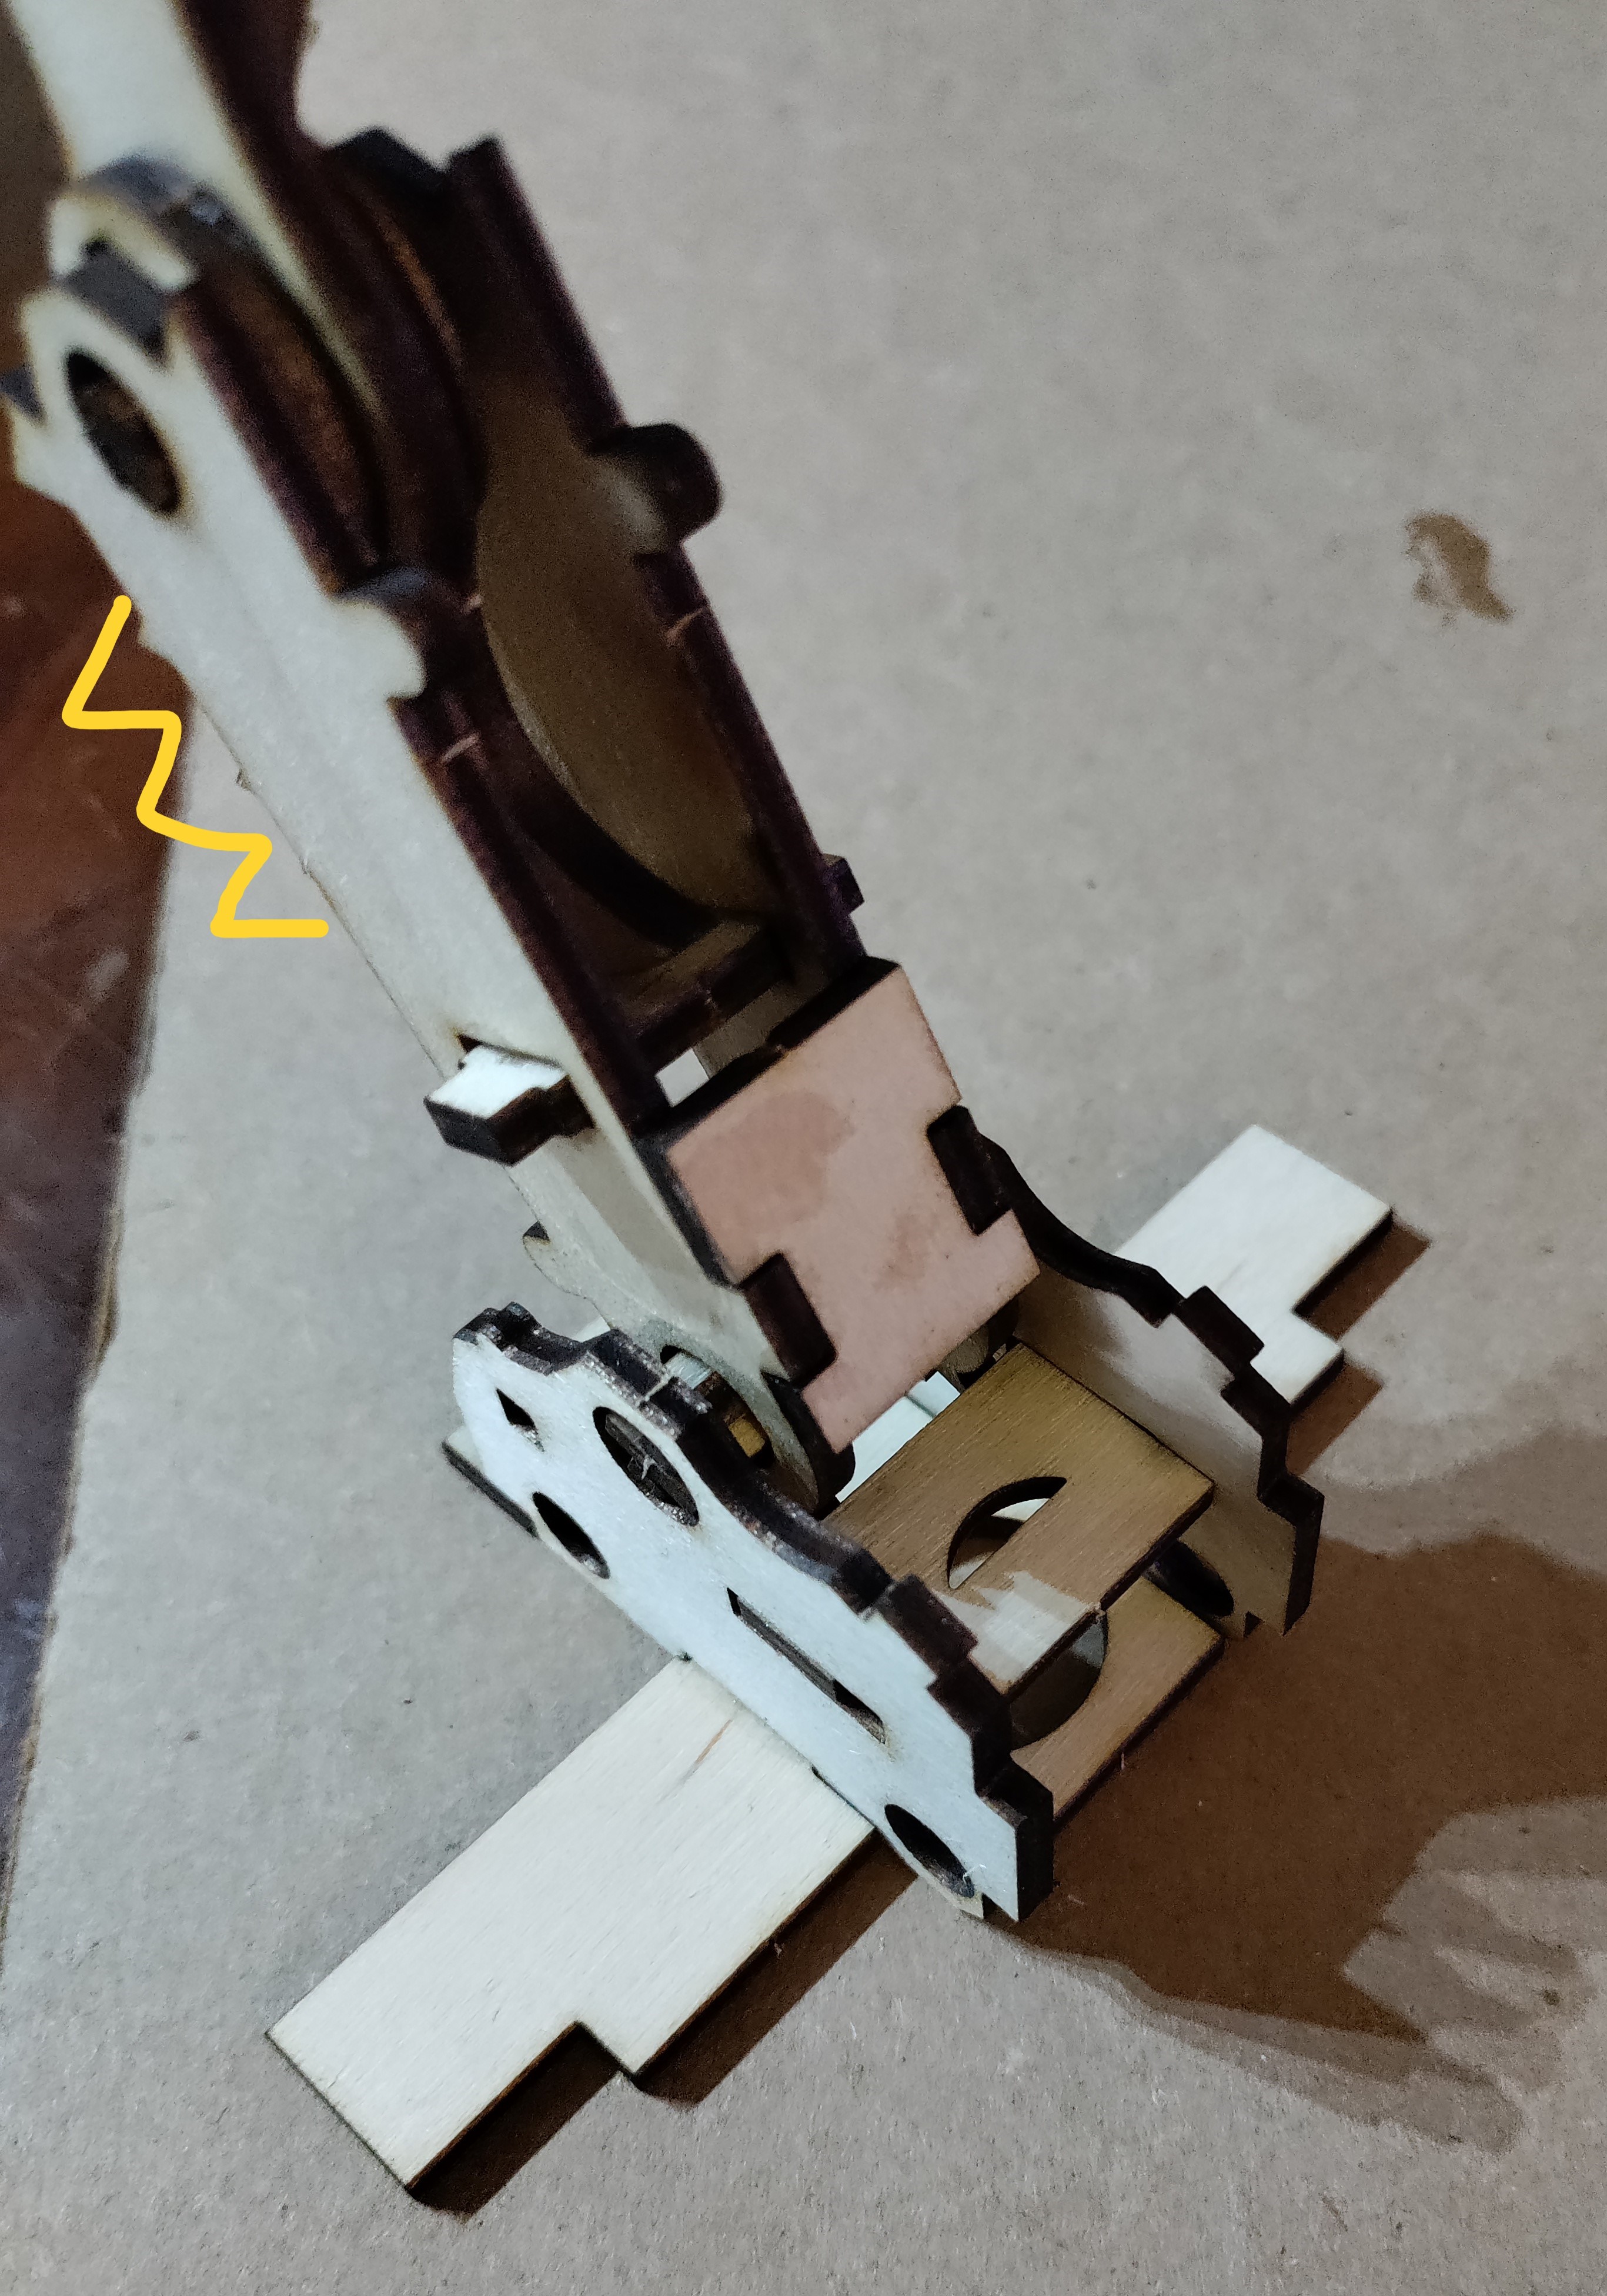
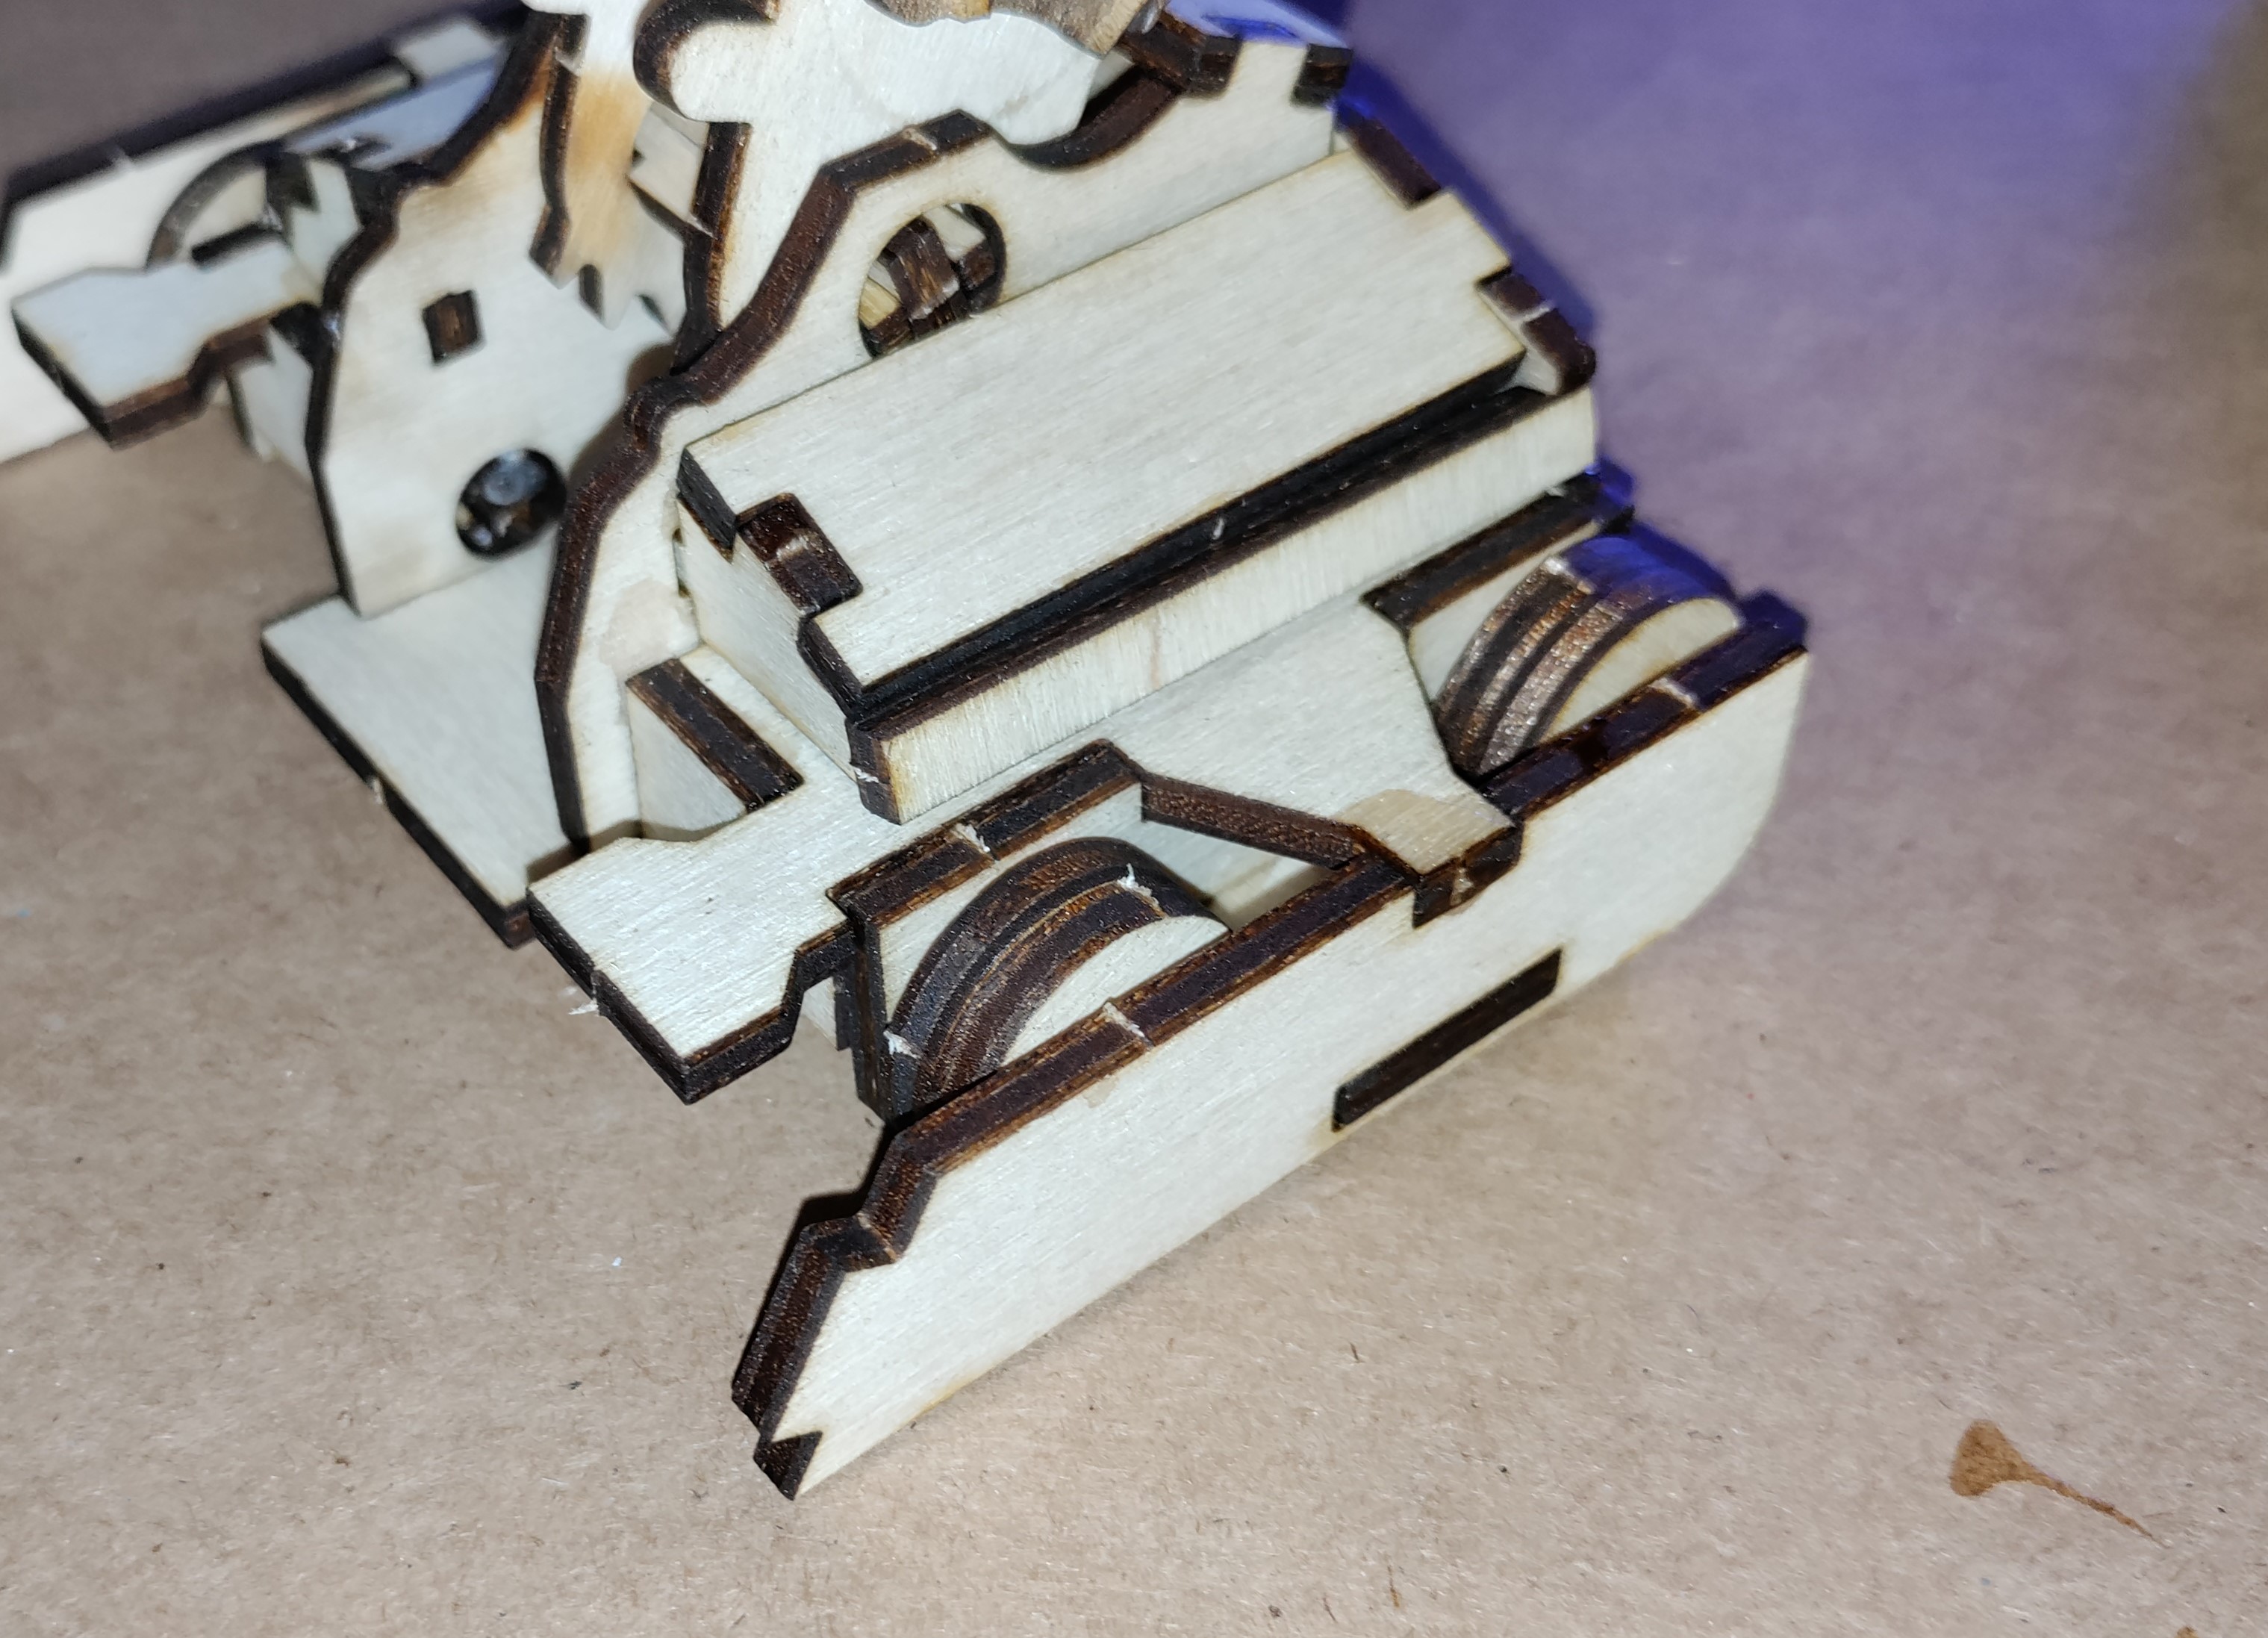
You may need additional hands for this step. Remove pieces (9) and (12). Insert the Jaw Axle into the top hole of (10) from the previous step. Make sure the small teeth (in yellow above) are facing the ground towards the front and the head panels are right-side up. Place (12) on the opposite side of the Jaw. Again, (11) should be able to slide in the slots in (10) and (12). Push (11) towards the inside of the bot to avoid gluing in the following steps. Attach both (10) and (12) onto (9) as shown with Jaw and (11) in place. Glue (10) and (12) to (9). This is Kraken’s Jaw and Chassis. Move onto the next step before the glue dries.
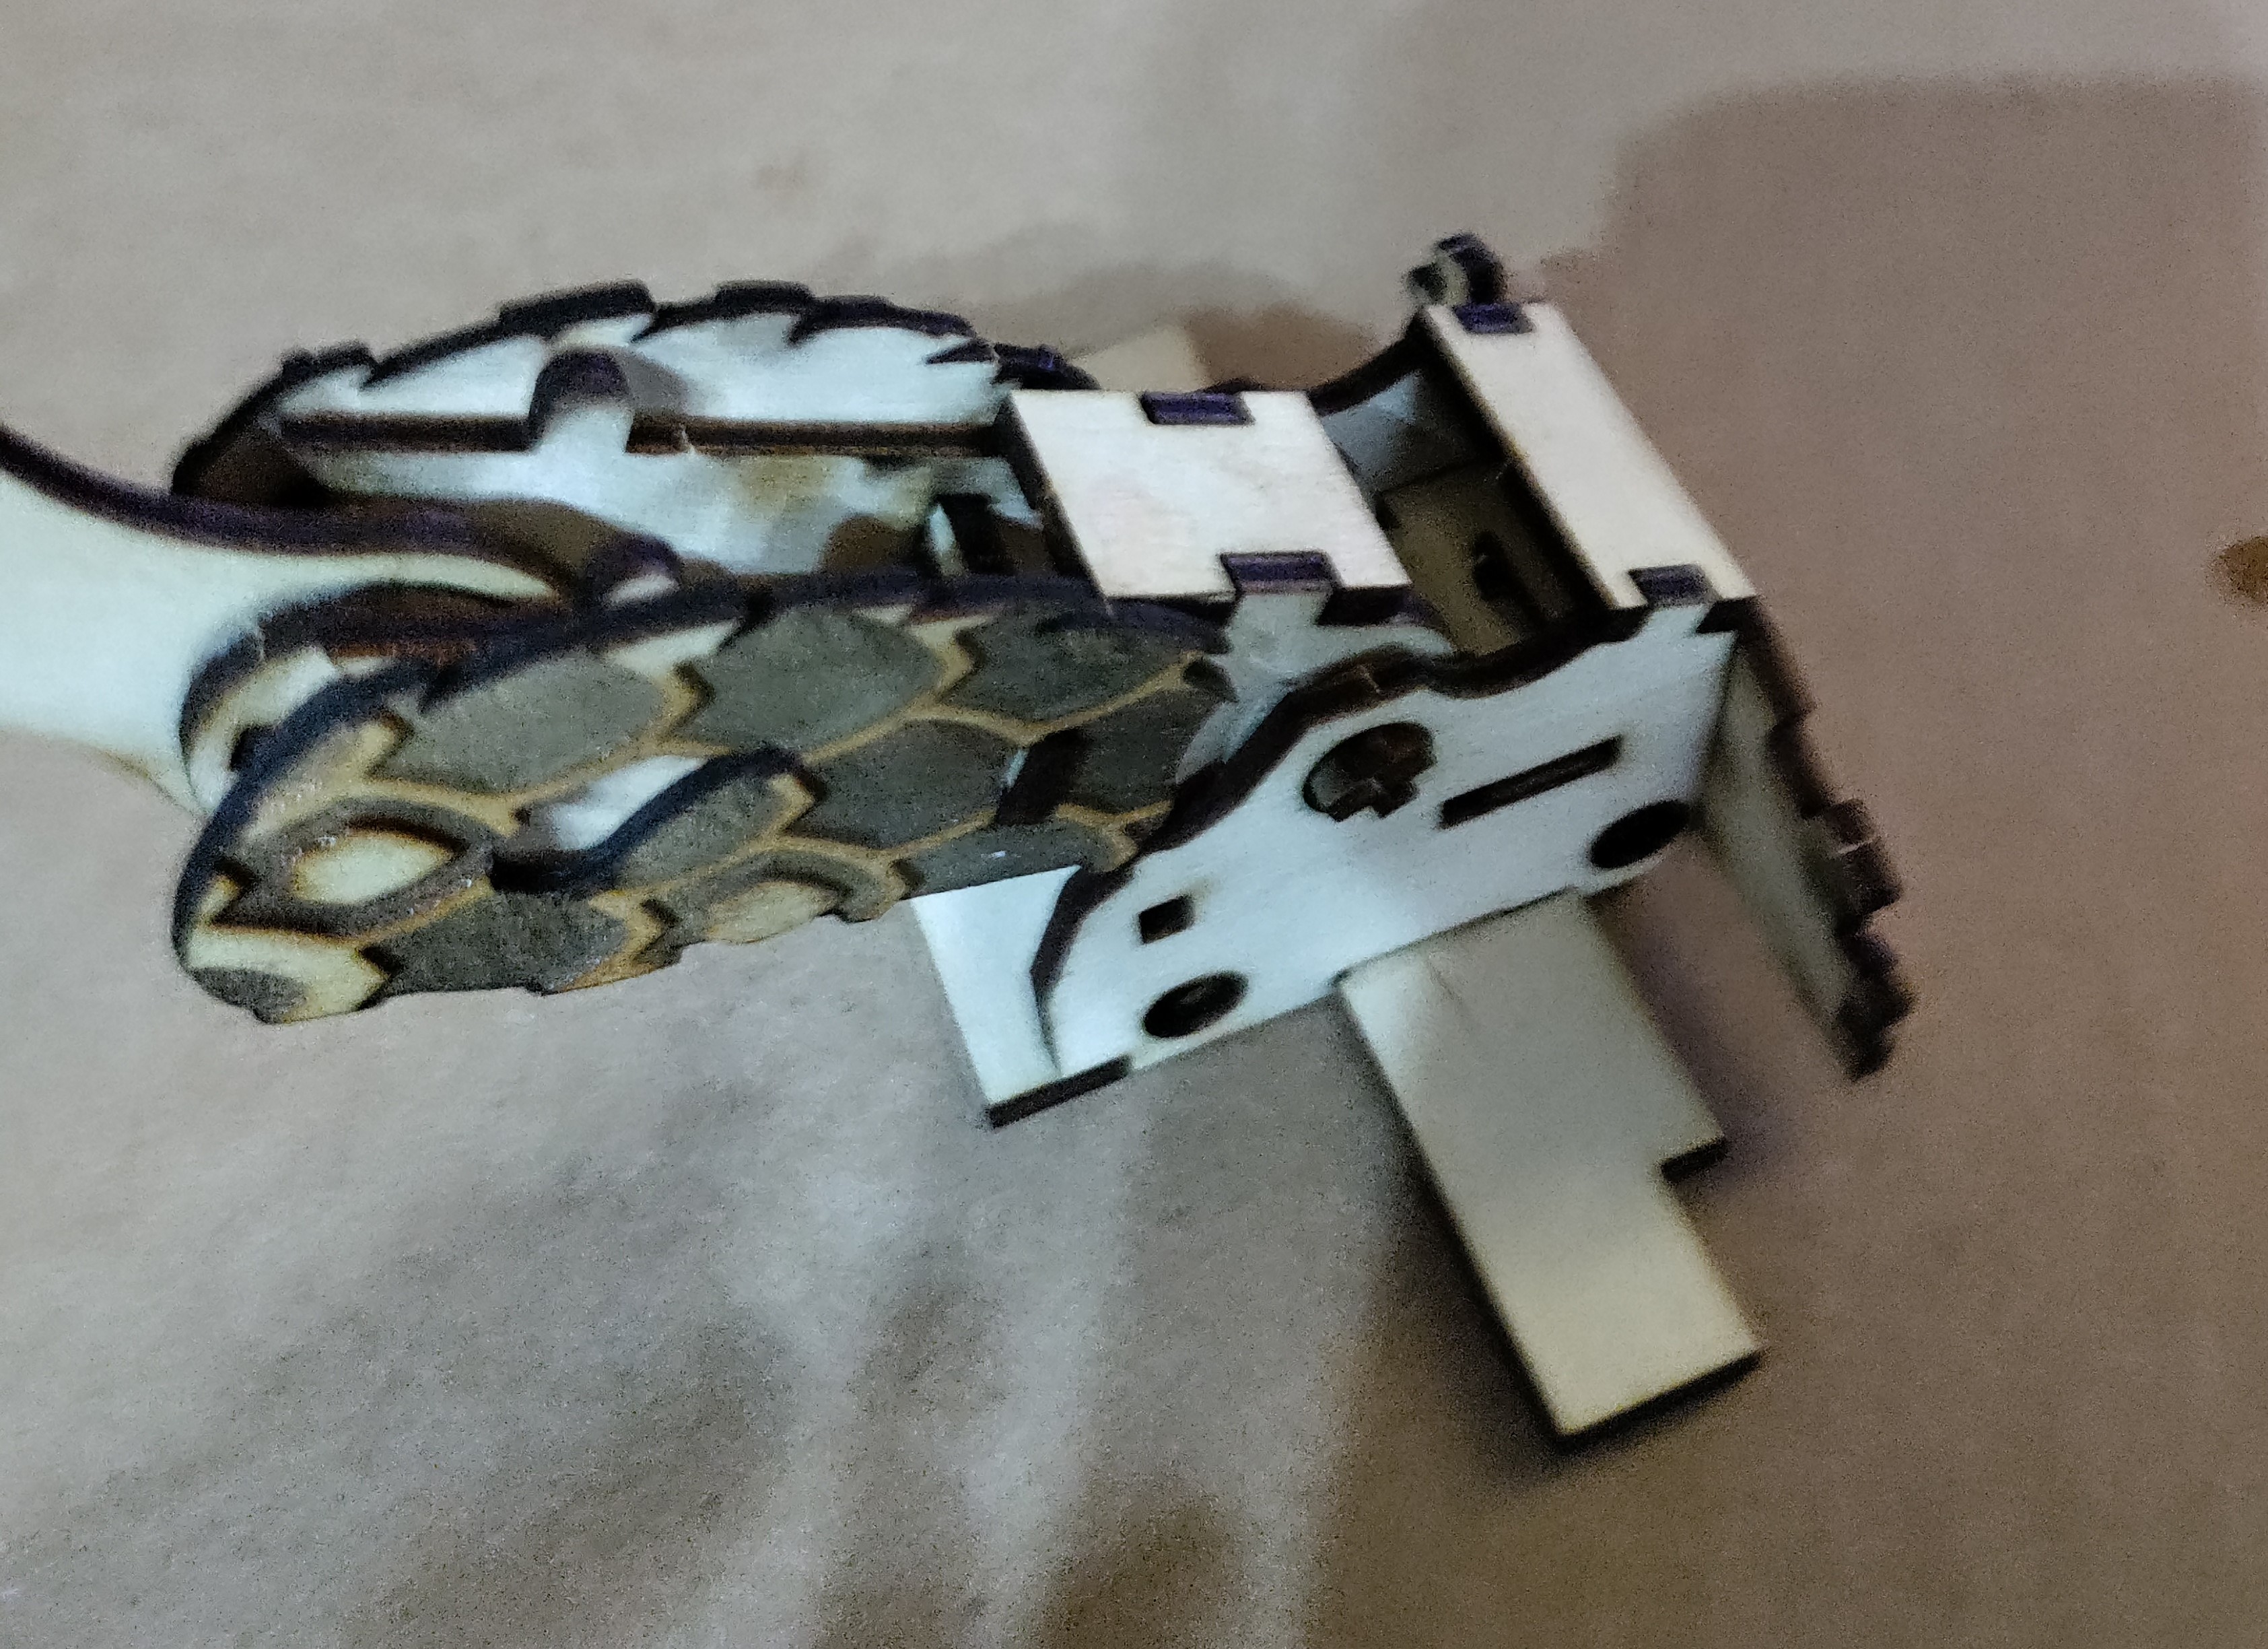
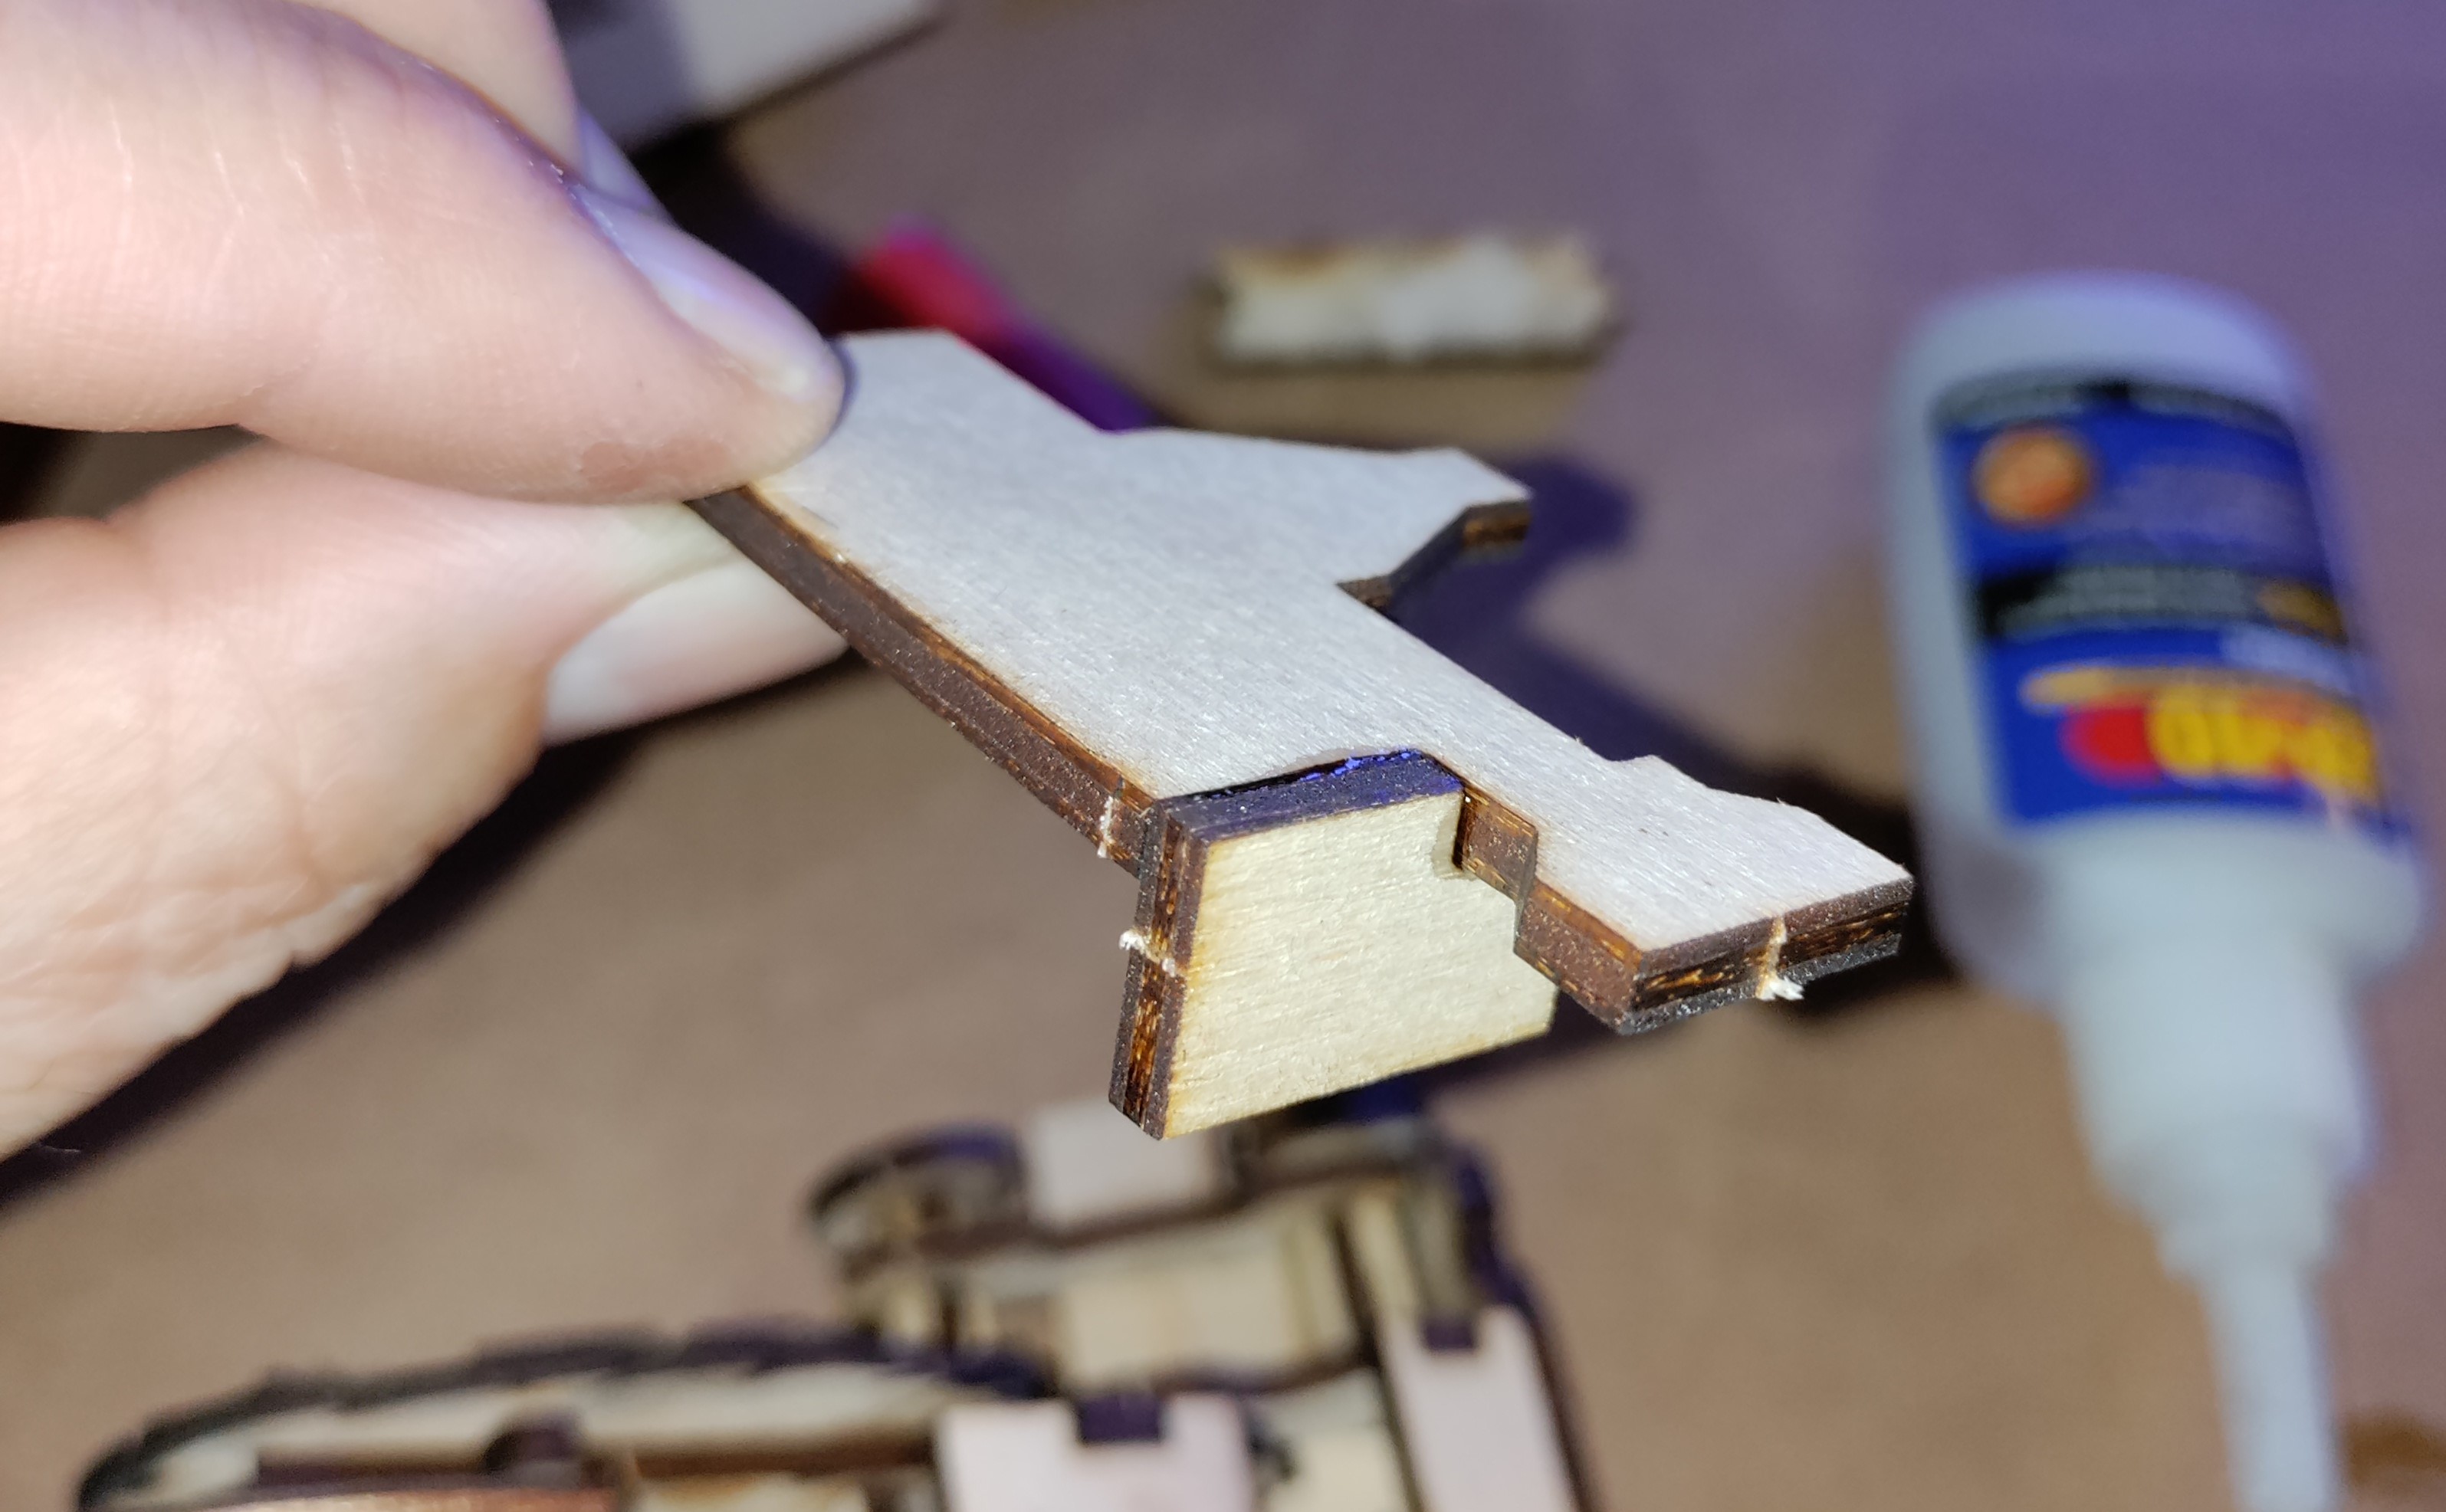
Remove pieces (13) and (23). Before the glue in previous step is dry, add (13) to Kraken’s Jaw and Chassis, making sure the tabs of (10) and (12) go into (13). With everything aligned, glue (13) into place. Glue (23) to the top tabs on (10) and (12), with the scales pointing towards the back (scale detail not shown in photo above).
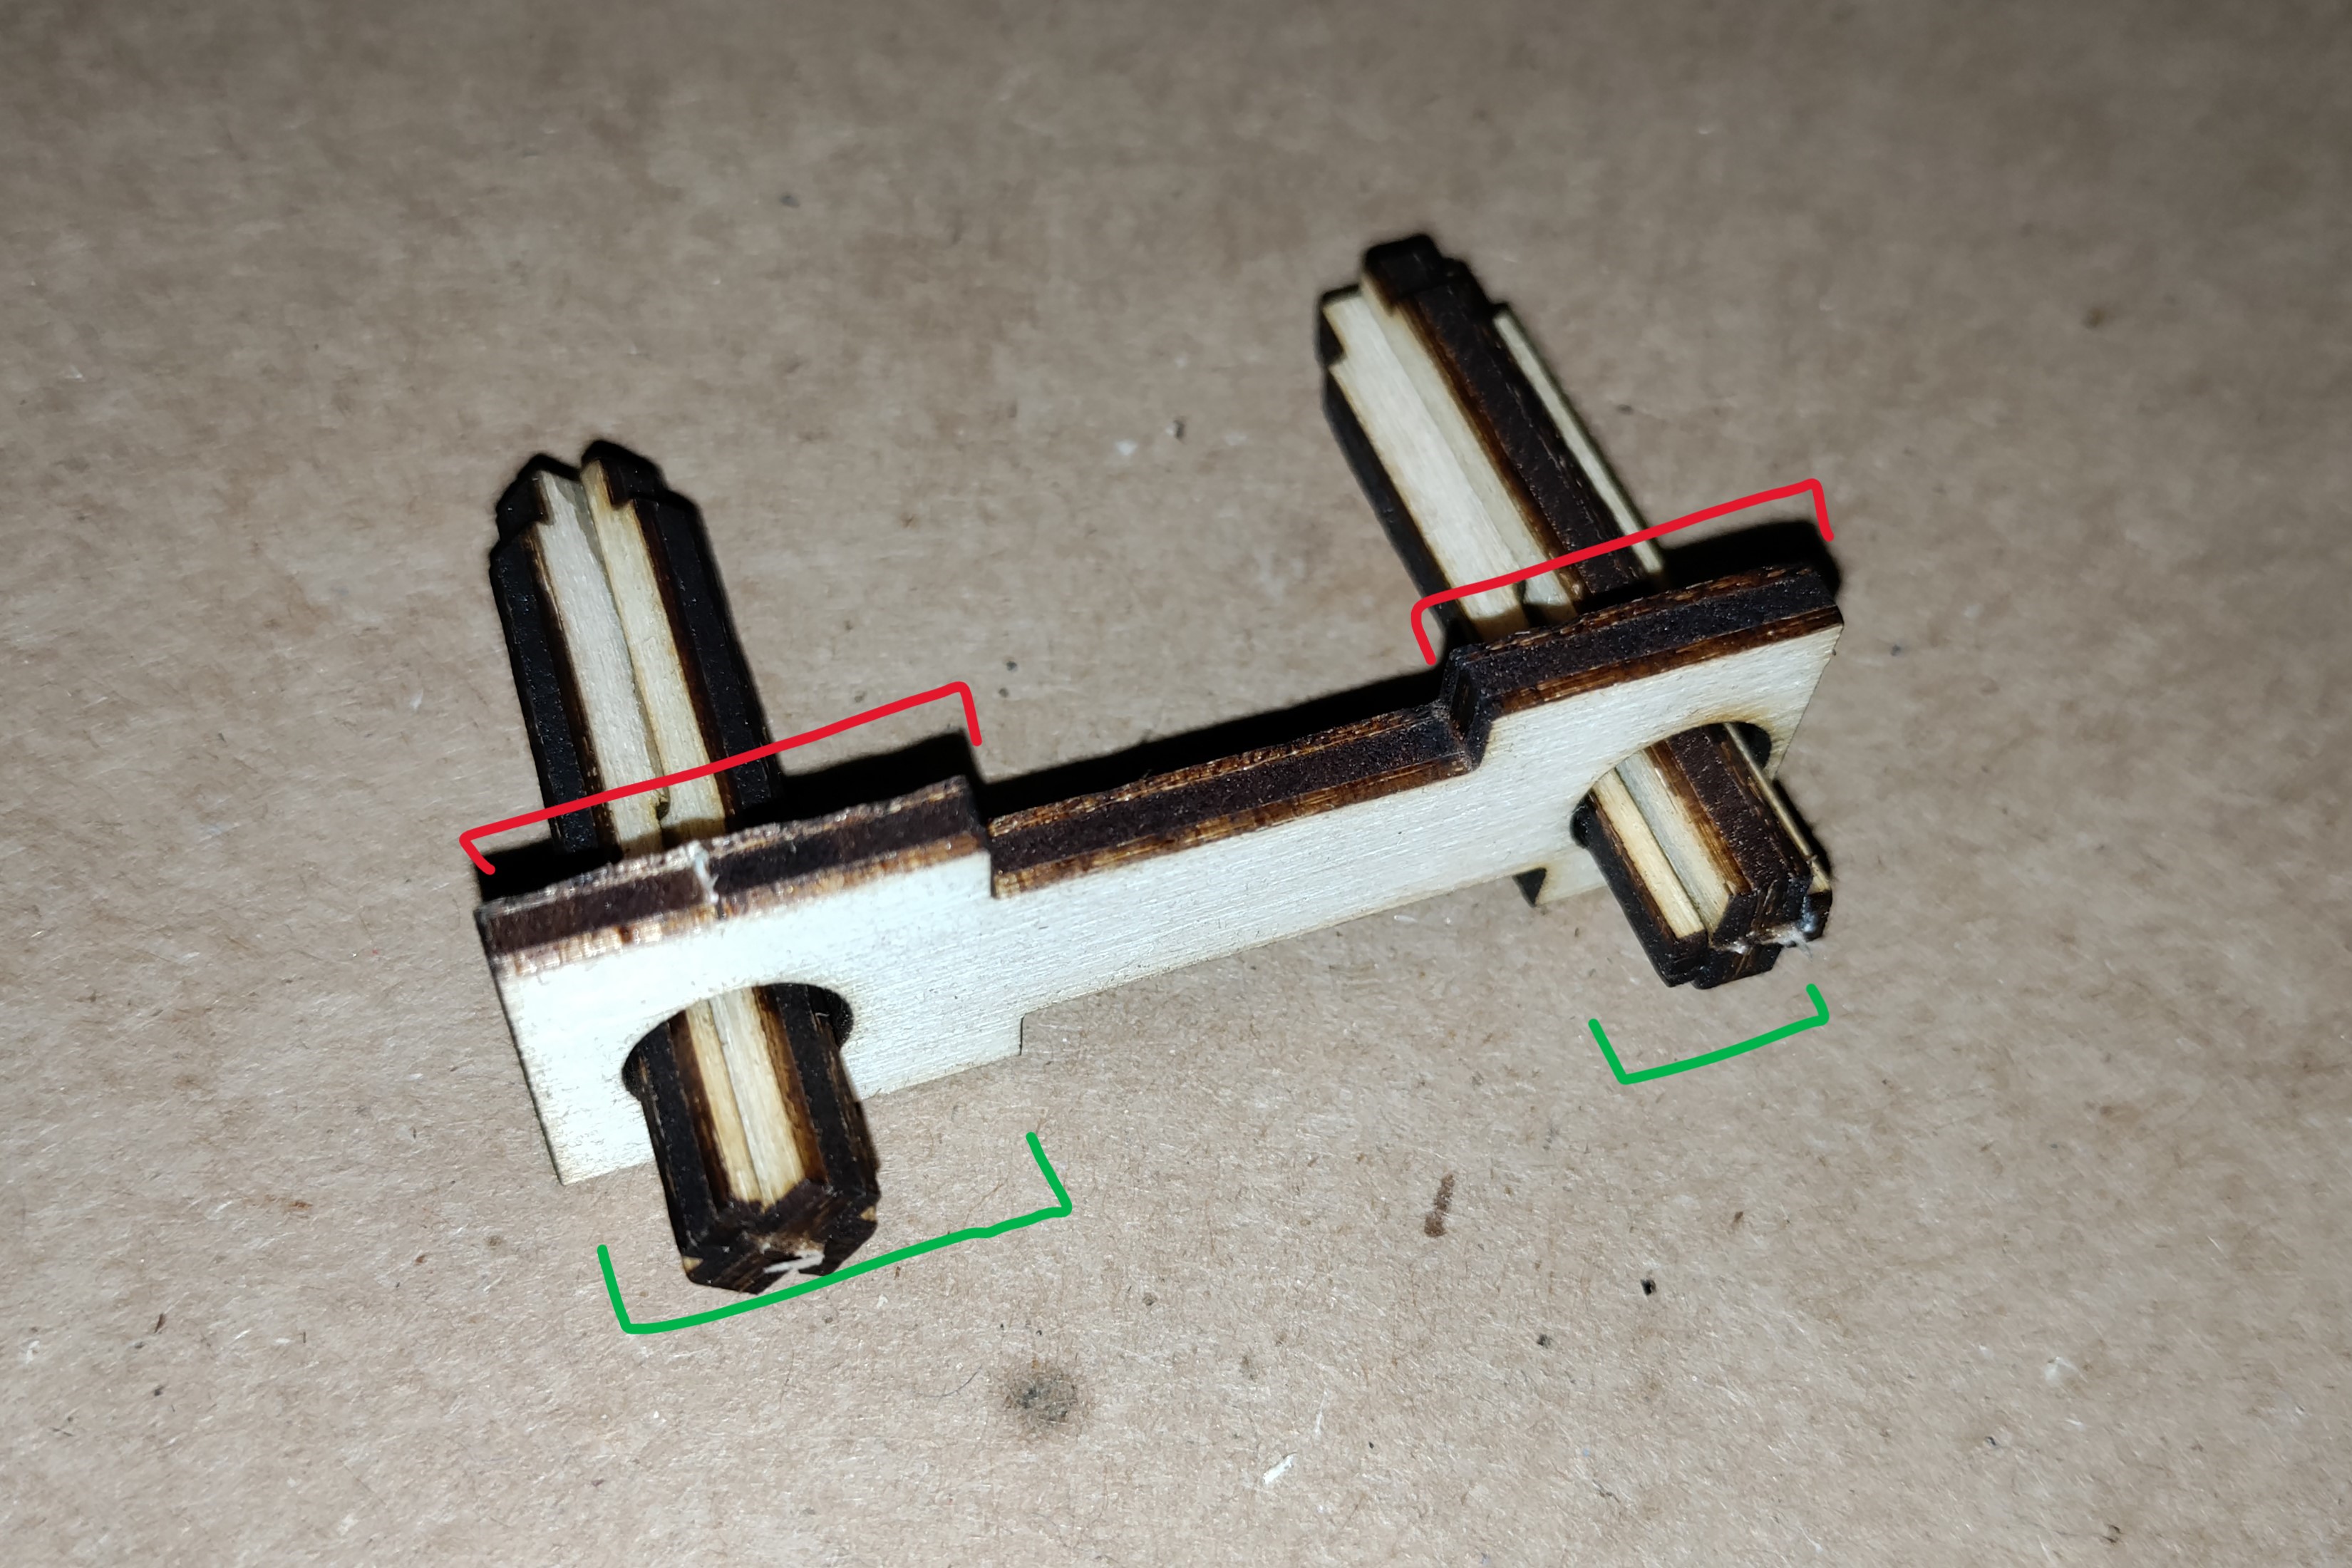
Remove all eight (14) pieces and both (16) pieces. This will be Kraken’s Drive system. Slot together and glue (14) A and (14) B. Repeat to assemble all 4 axles. Once complete, the axles should have a short side and a long side. Insert the long side into (16). Do this twice, once for each (16) piece. See notes below.
NOTE 1: You MUST have one A piece with one B piece for each axle or it will not assemble correctly.
NOTE 2: Notice the size difference of the red and green tabs marked above. When you insert the axles into (16), make sure you insert the axles from the BACK on both pieces. They should be mirror images when they are assembled. If you assemble one the wrong way, the tabs will not fit correctly on your Kraken.
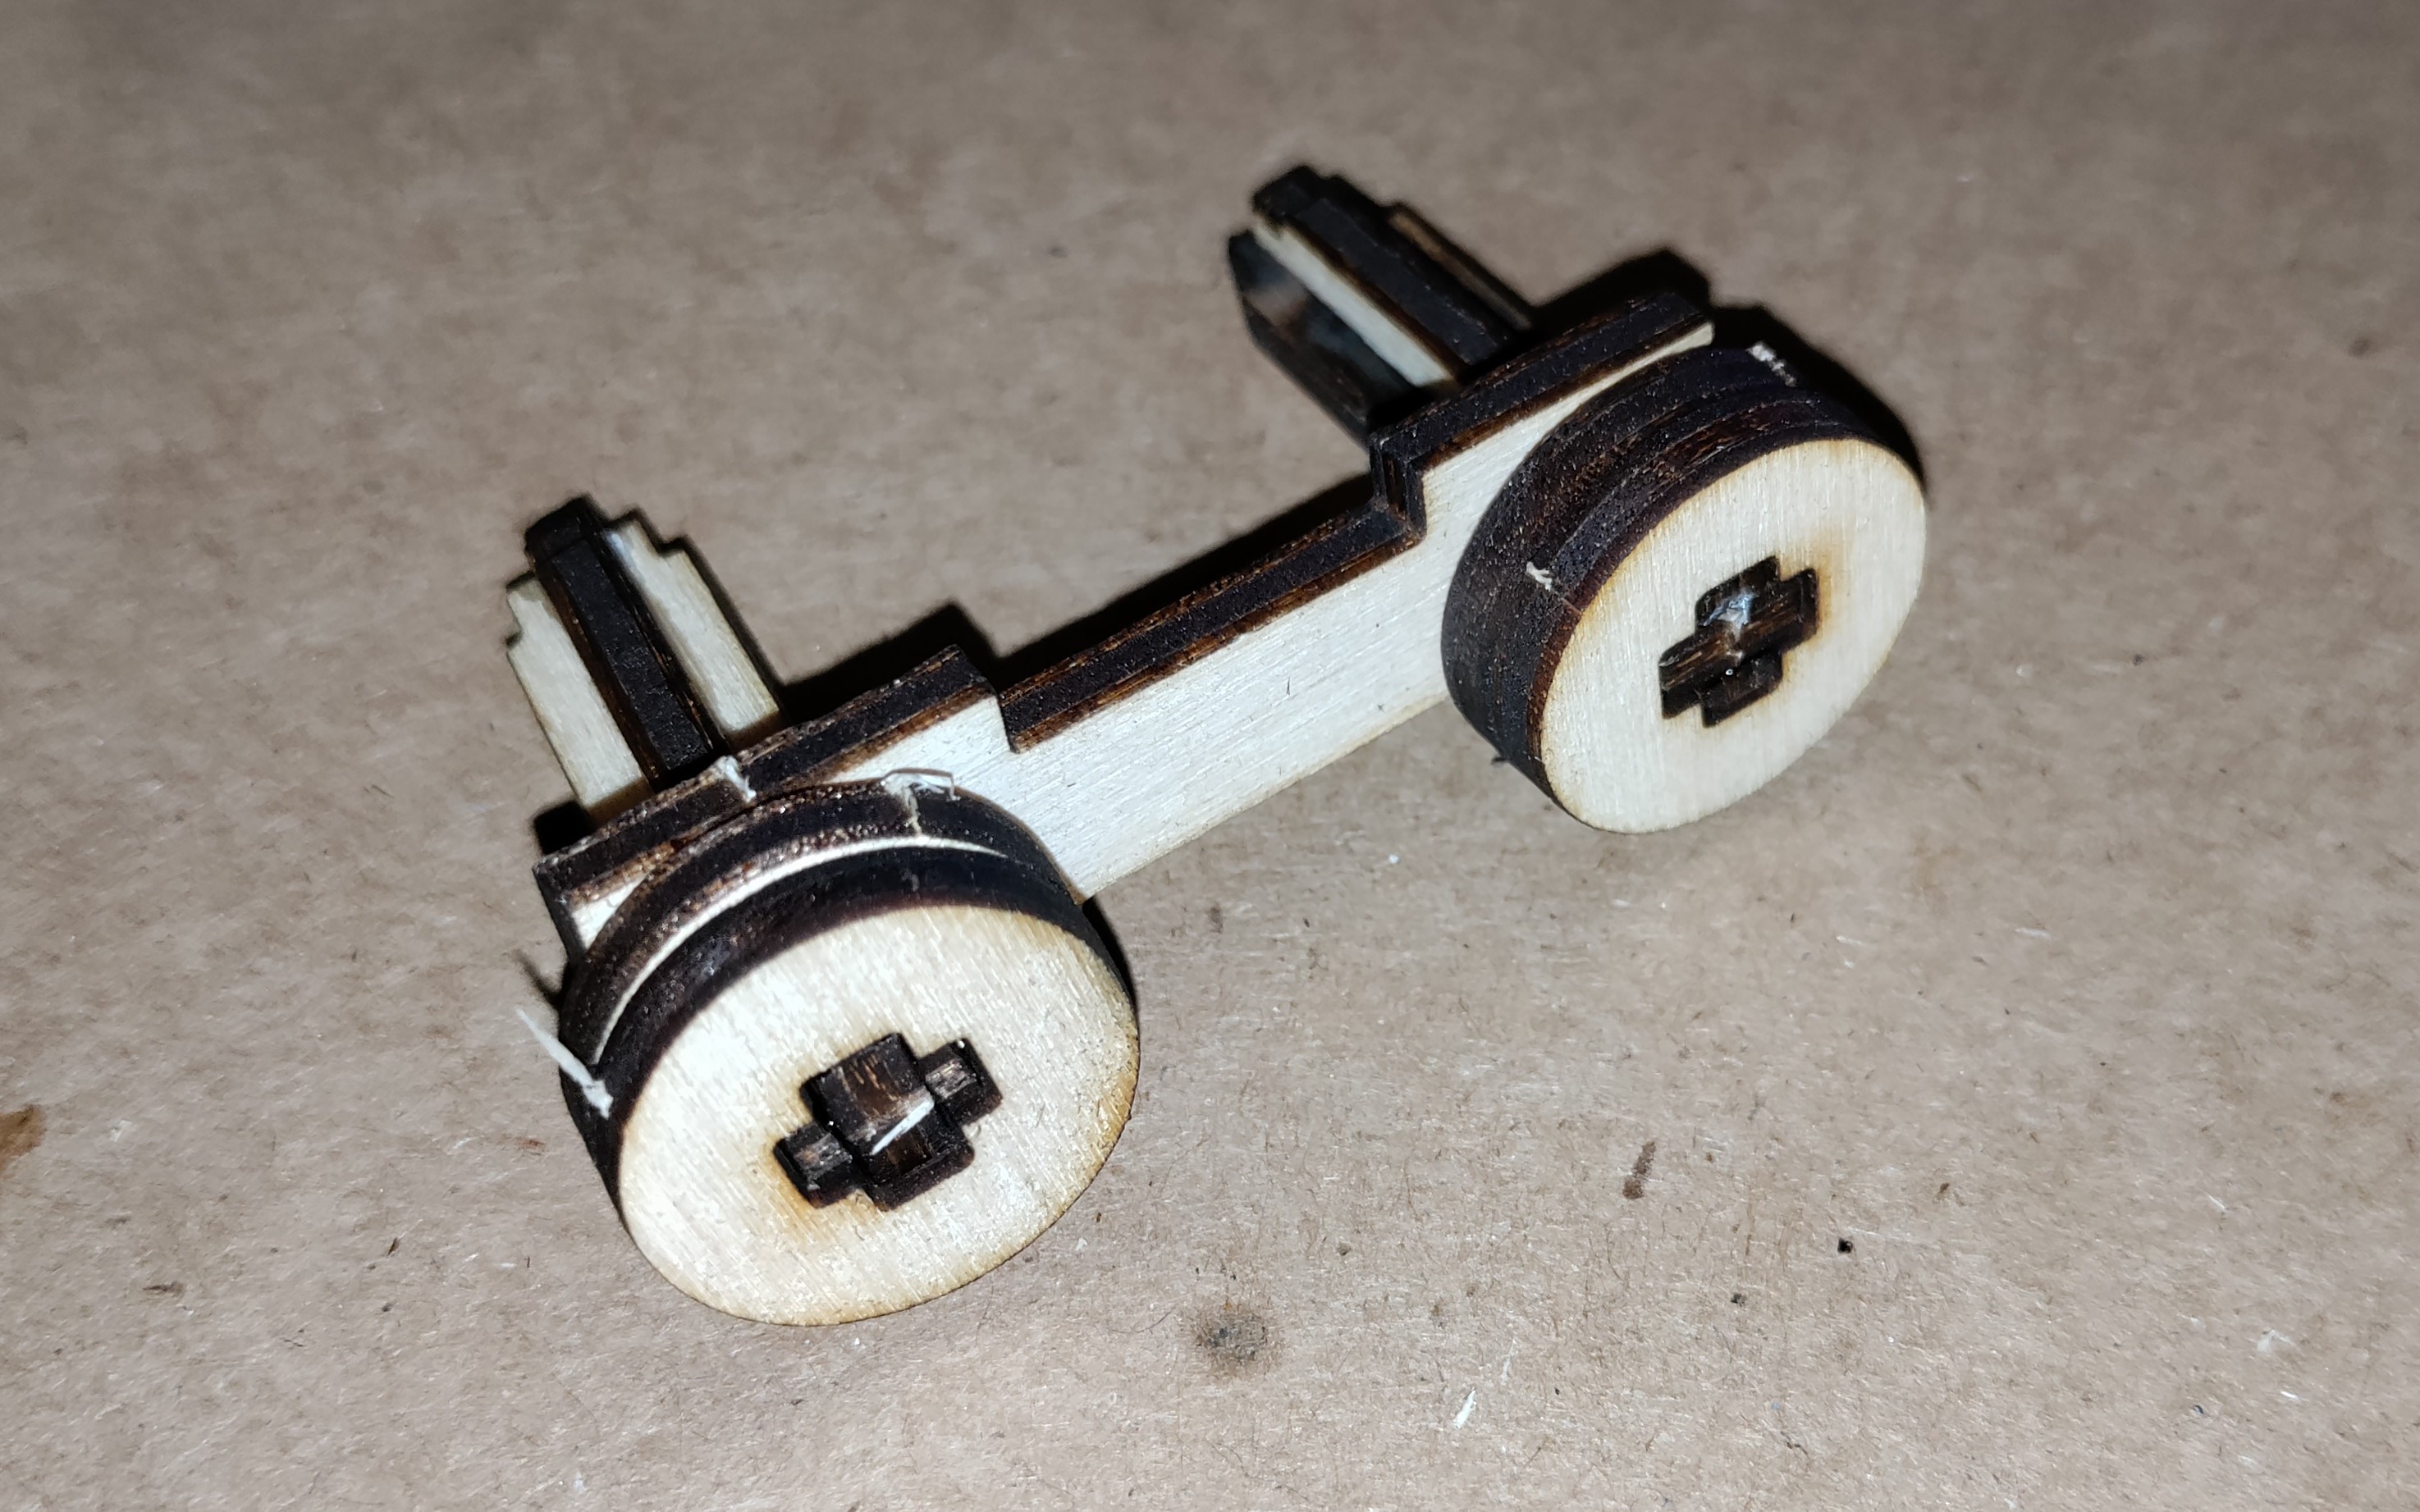
Remove all eight (17) pieces. On each long side of the axle sticking thru (16), place two (17) pieces to form Kraken’s wheels. Glue wheels to axles, but avoid getting glue between the wheels/axles and the (16) side pieces. The wheels should be free to spin. Do a total of 4 times so all axles have wheels. Set aside to dry.
Remove both (15) and both (18) pieces. Glue ONE (15) and (18) together as shown. (Set the other (15) and (18) aside for a moment). This is Kraken’s Left Drive Cover.
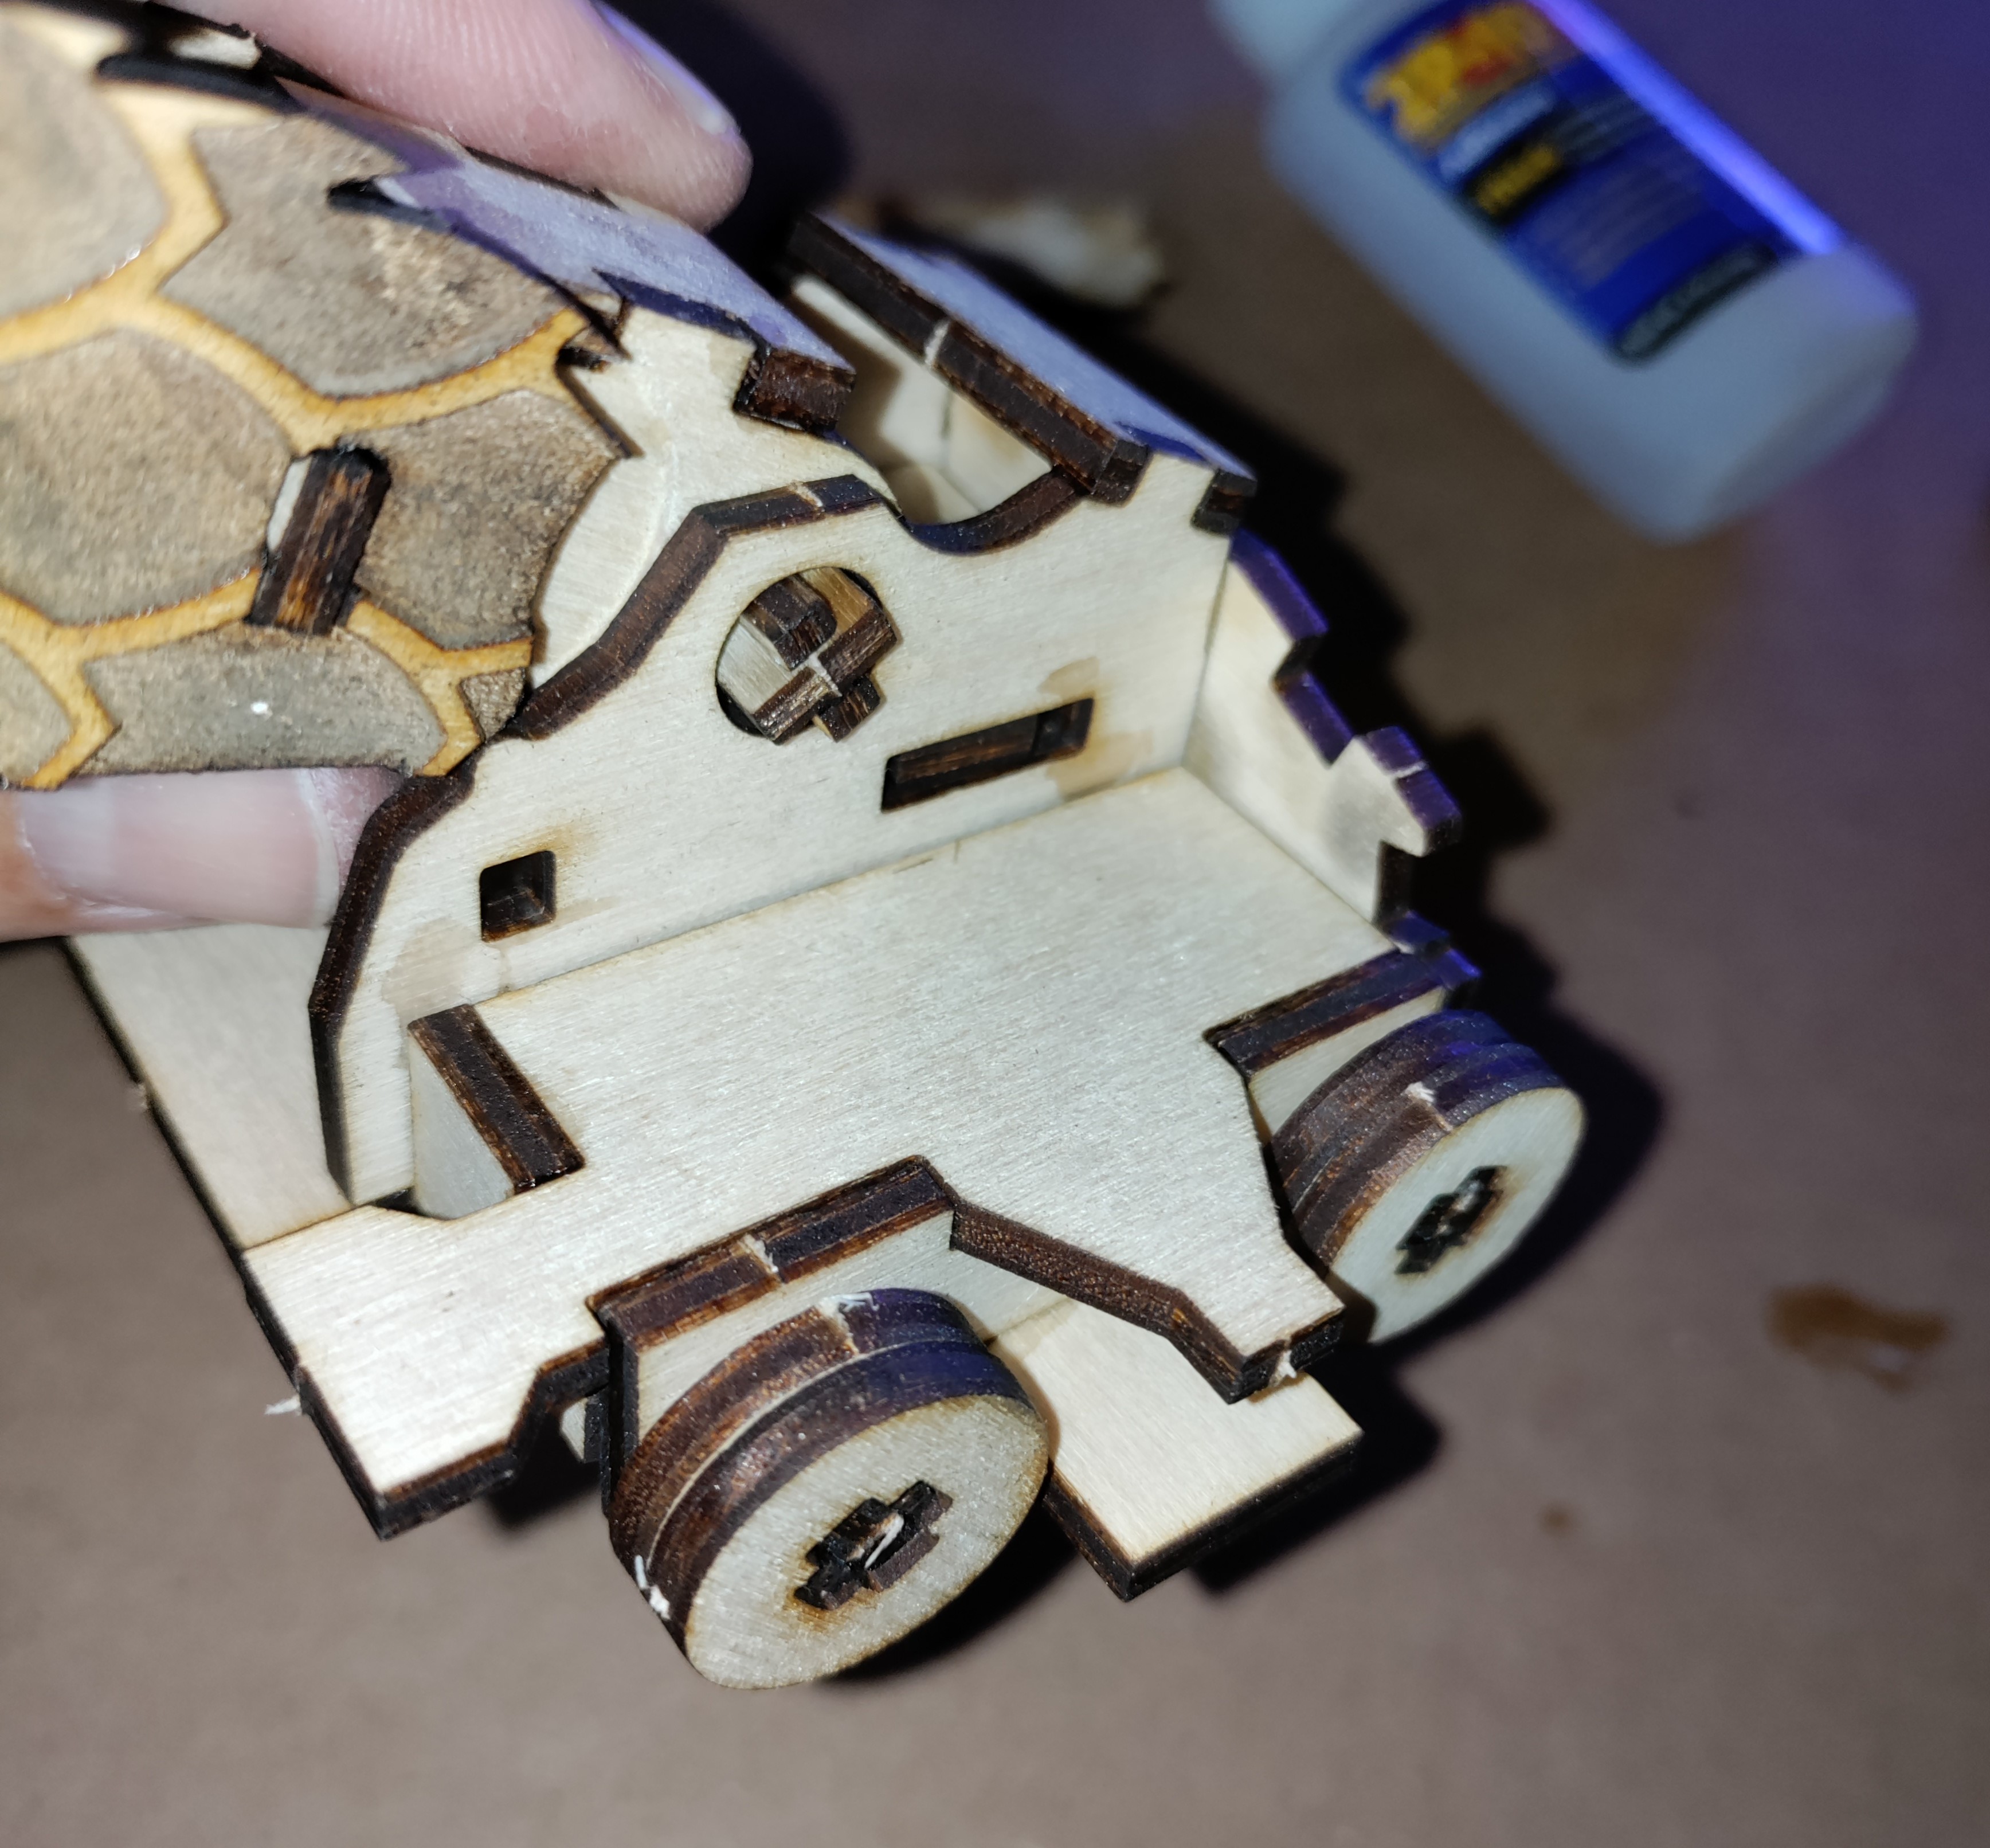
Assemble the left side drive of Kraken by choosing the Drive System that slots into place correctly. (Remember, the Drive Systems are mirror images and only one will fit correctly). Glue (16) on the Drive System to (9) and (13) on the Chassis. Place the Left Drive Cover on top and glue into place, taking care not to glue the wheel or axle so that they can rotate.
Glue remaining (15) and (18) in mirror fashion to the left side, as shown above. This is Kraken’s Right Drive Cover. Assemble the right-side Drive System and Cover as you did with the left side, being careful not to glue the wheels and axles.
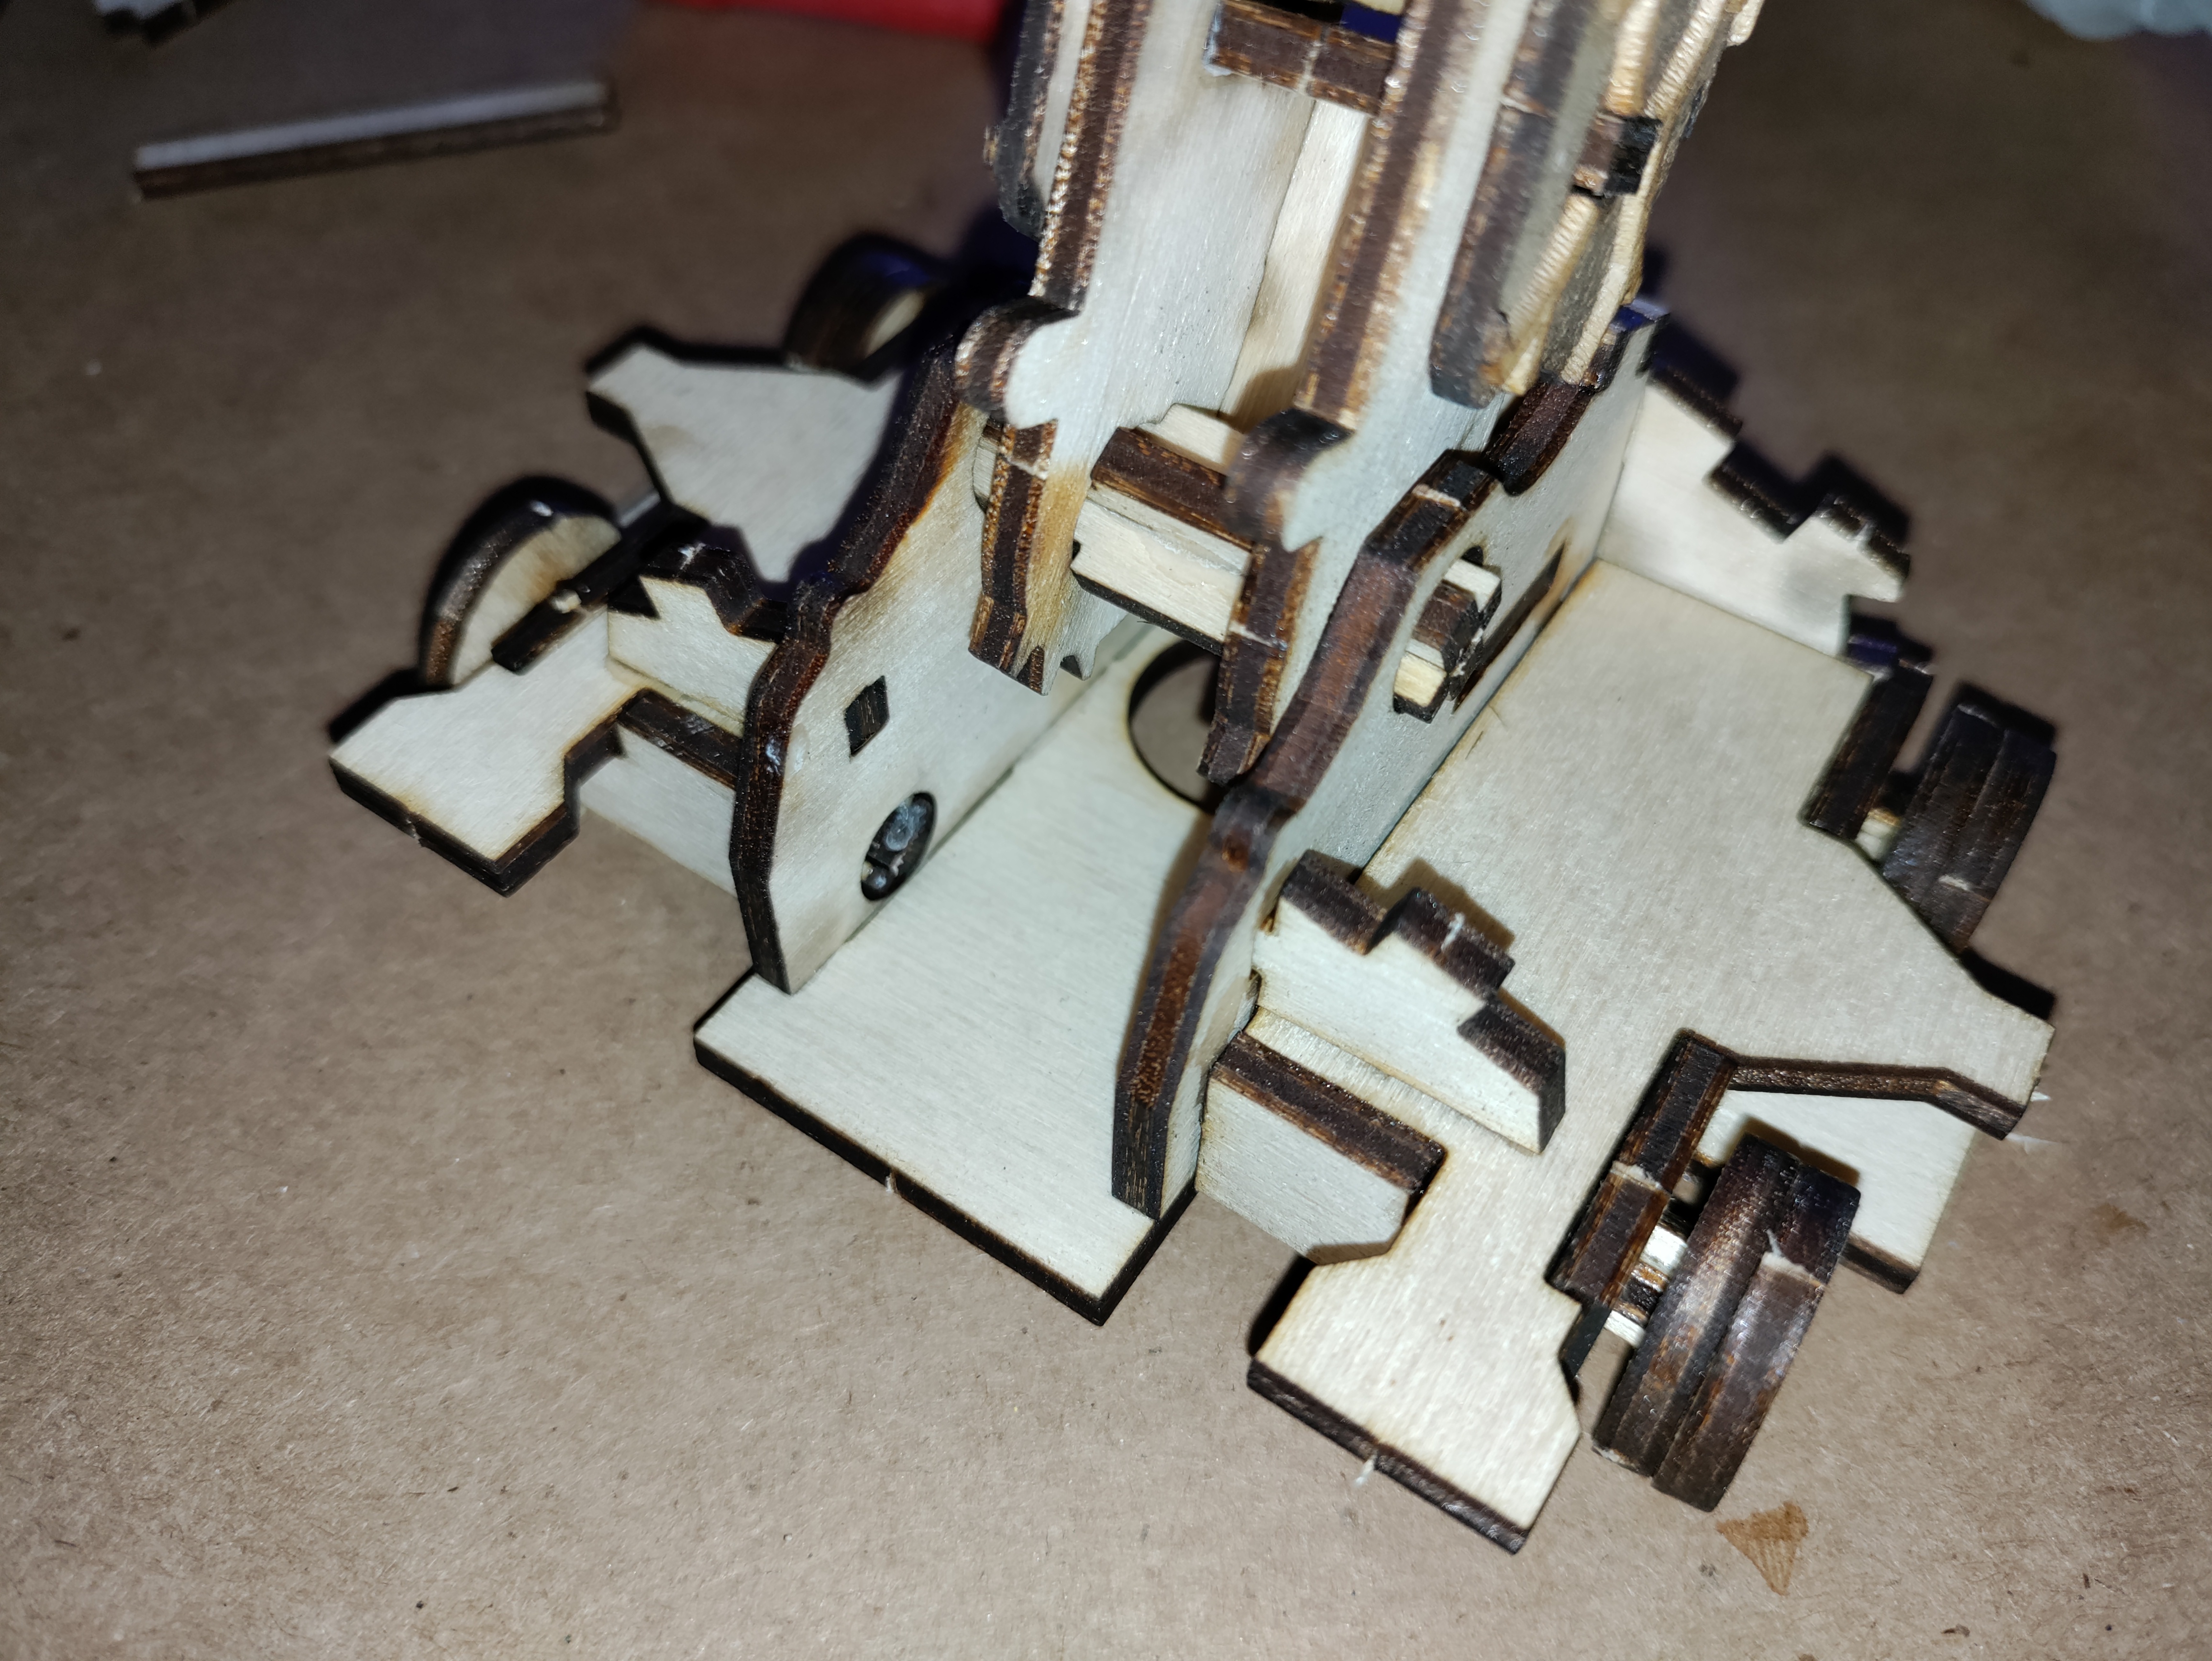
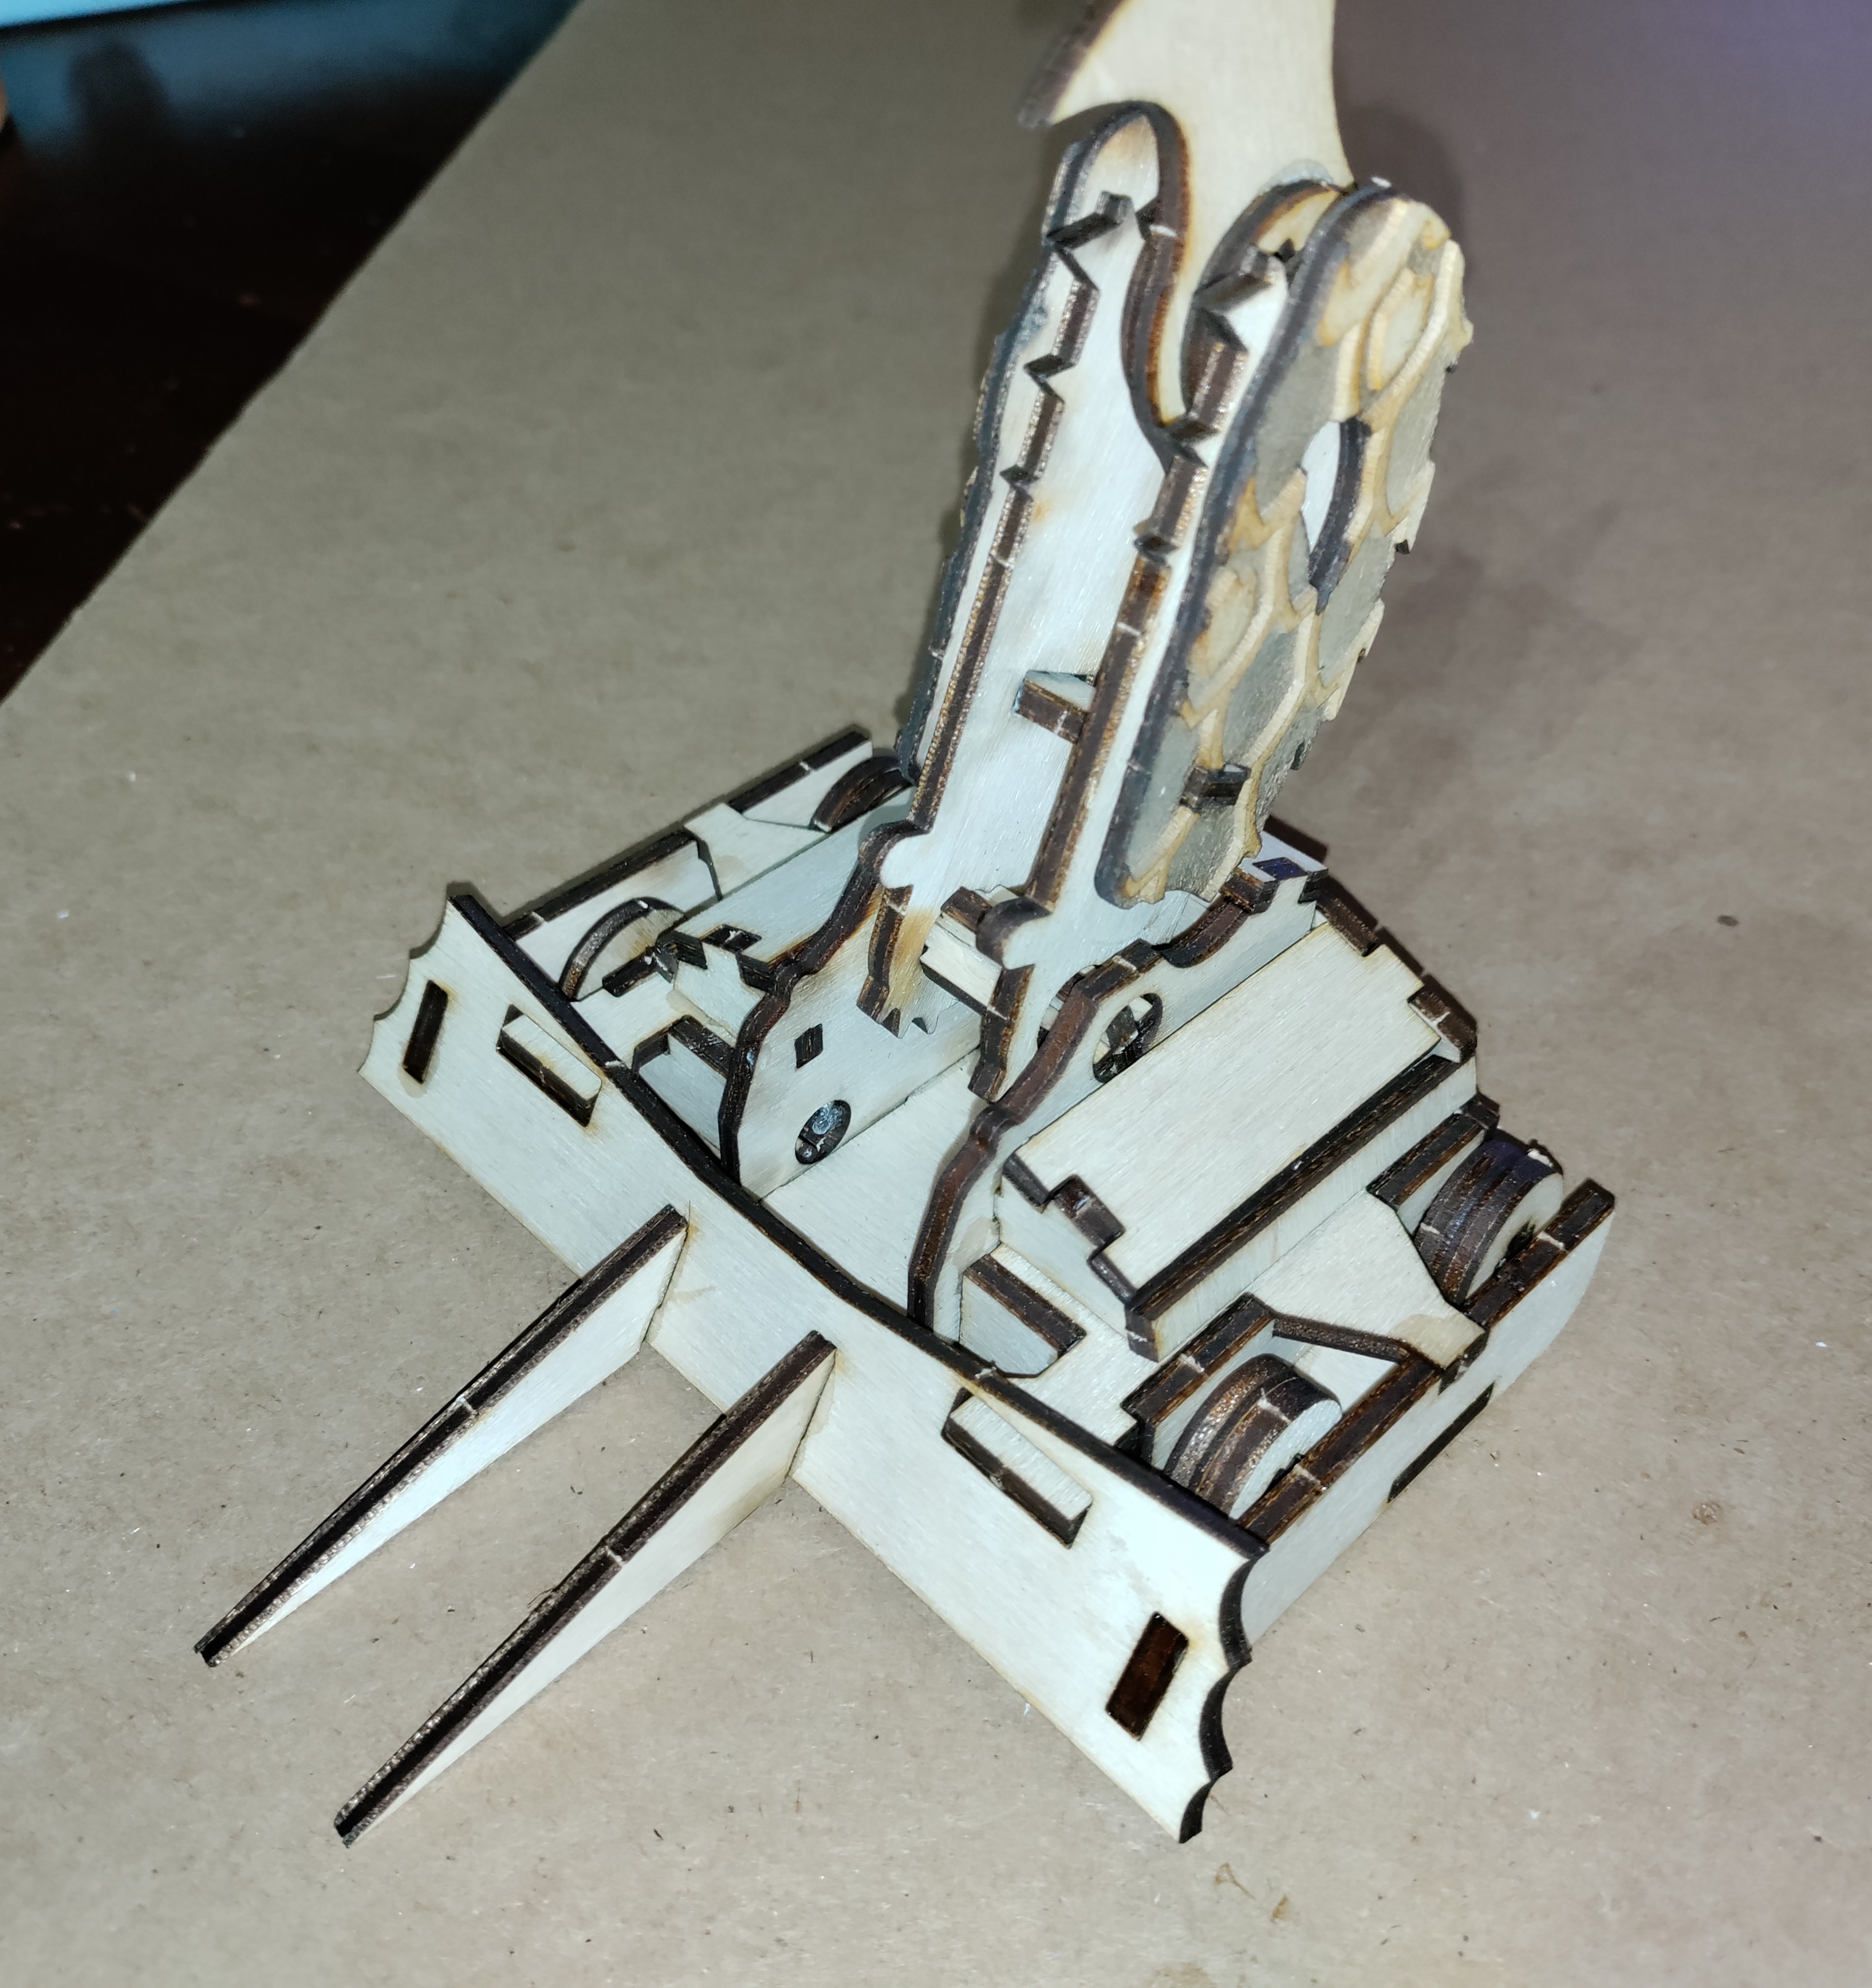
Remove both (19) pieces and glue into place as shown above.
Remove both (20) and both (21) pieces. Pay close attention to the scale pattern on each piece. Piece (20) fits with the scales pointing towards the back (red arrow above). The scales on (21) should line up with the scales on (20) (shown in yellow above). Glue pieces (20) and (21) as shown on each side of Kraken. These are Kraken’s Top Covers.
Remove both (22) pieces. Glue one side armor piece (22) to each side of the Chassis on the two tabs sticking out from pieces (9) and (18).
Remove both (24) pieces and piece (25). Glue both (24) pieces to the front of (25) as shown, with the scales facing outwards (scale details are not shown in photo above). This is Kraken’s Front Armor Package.
Glue the Front Armor Package onto tabs from (18) and (22). If your pieces were not aligned just right and the glue is dry, you may need to sand the tabs slightly to make them fit.
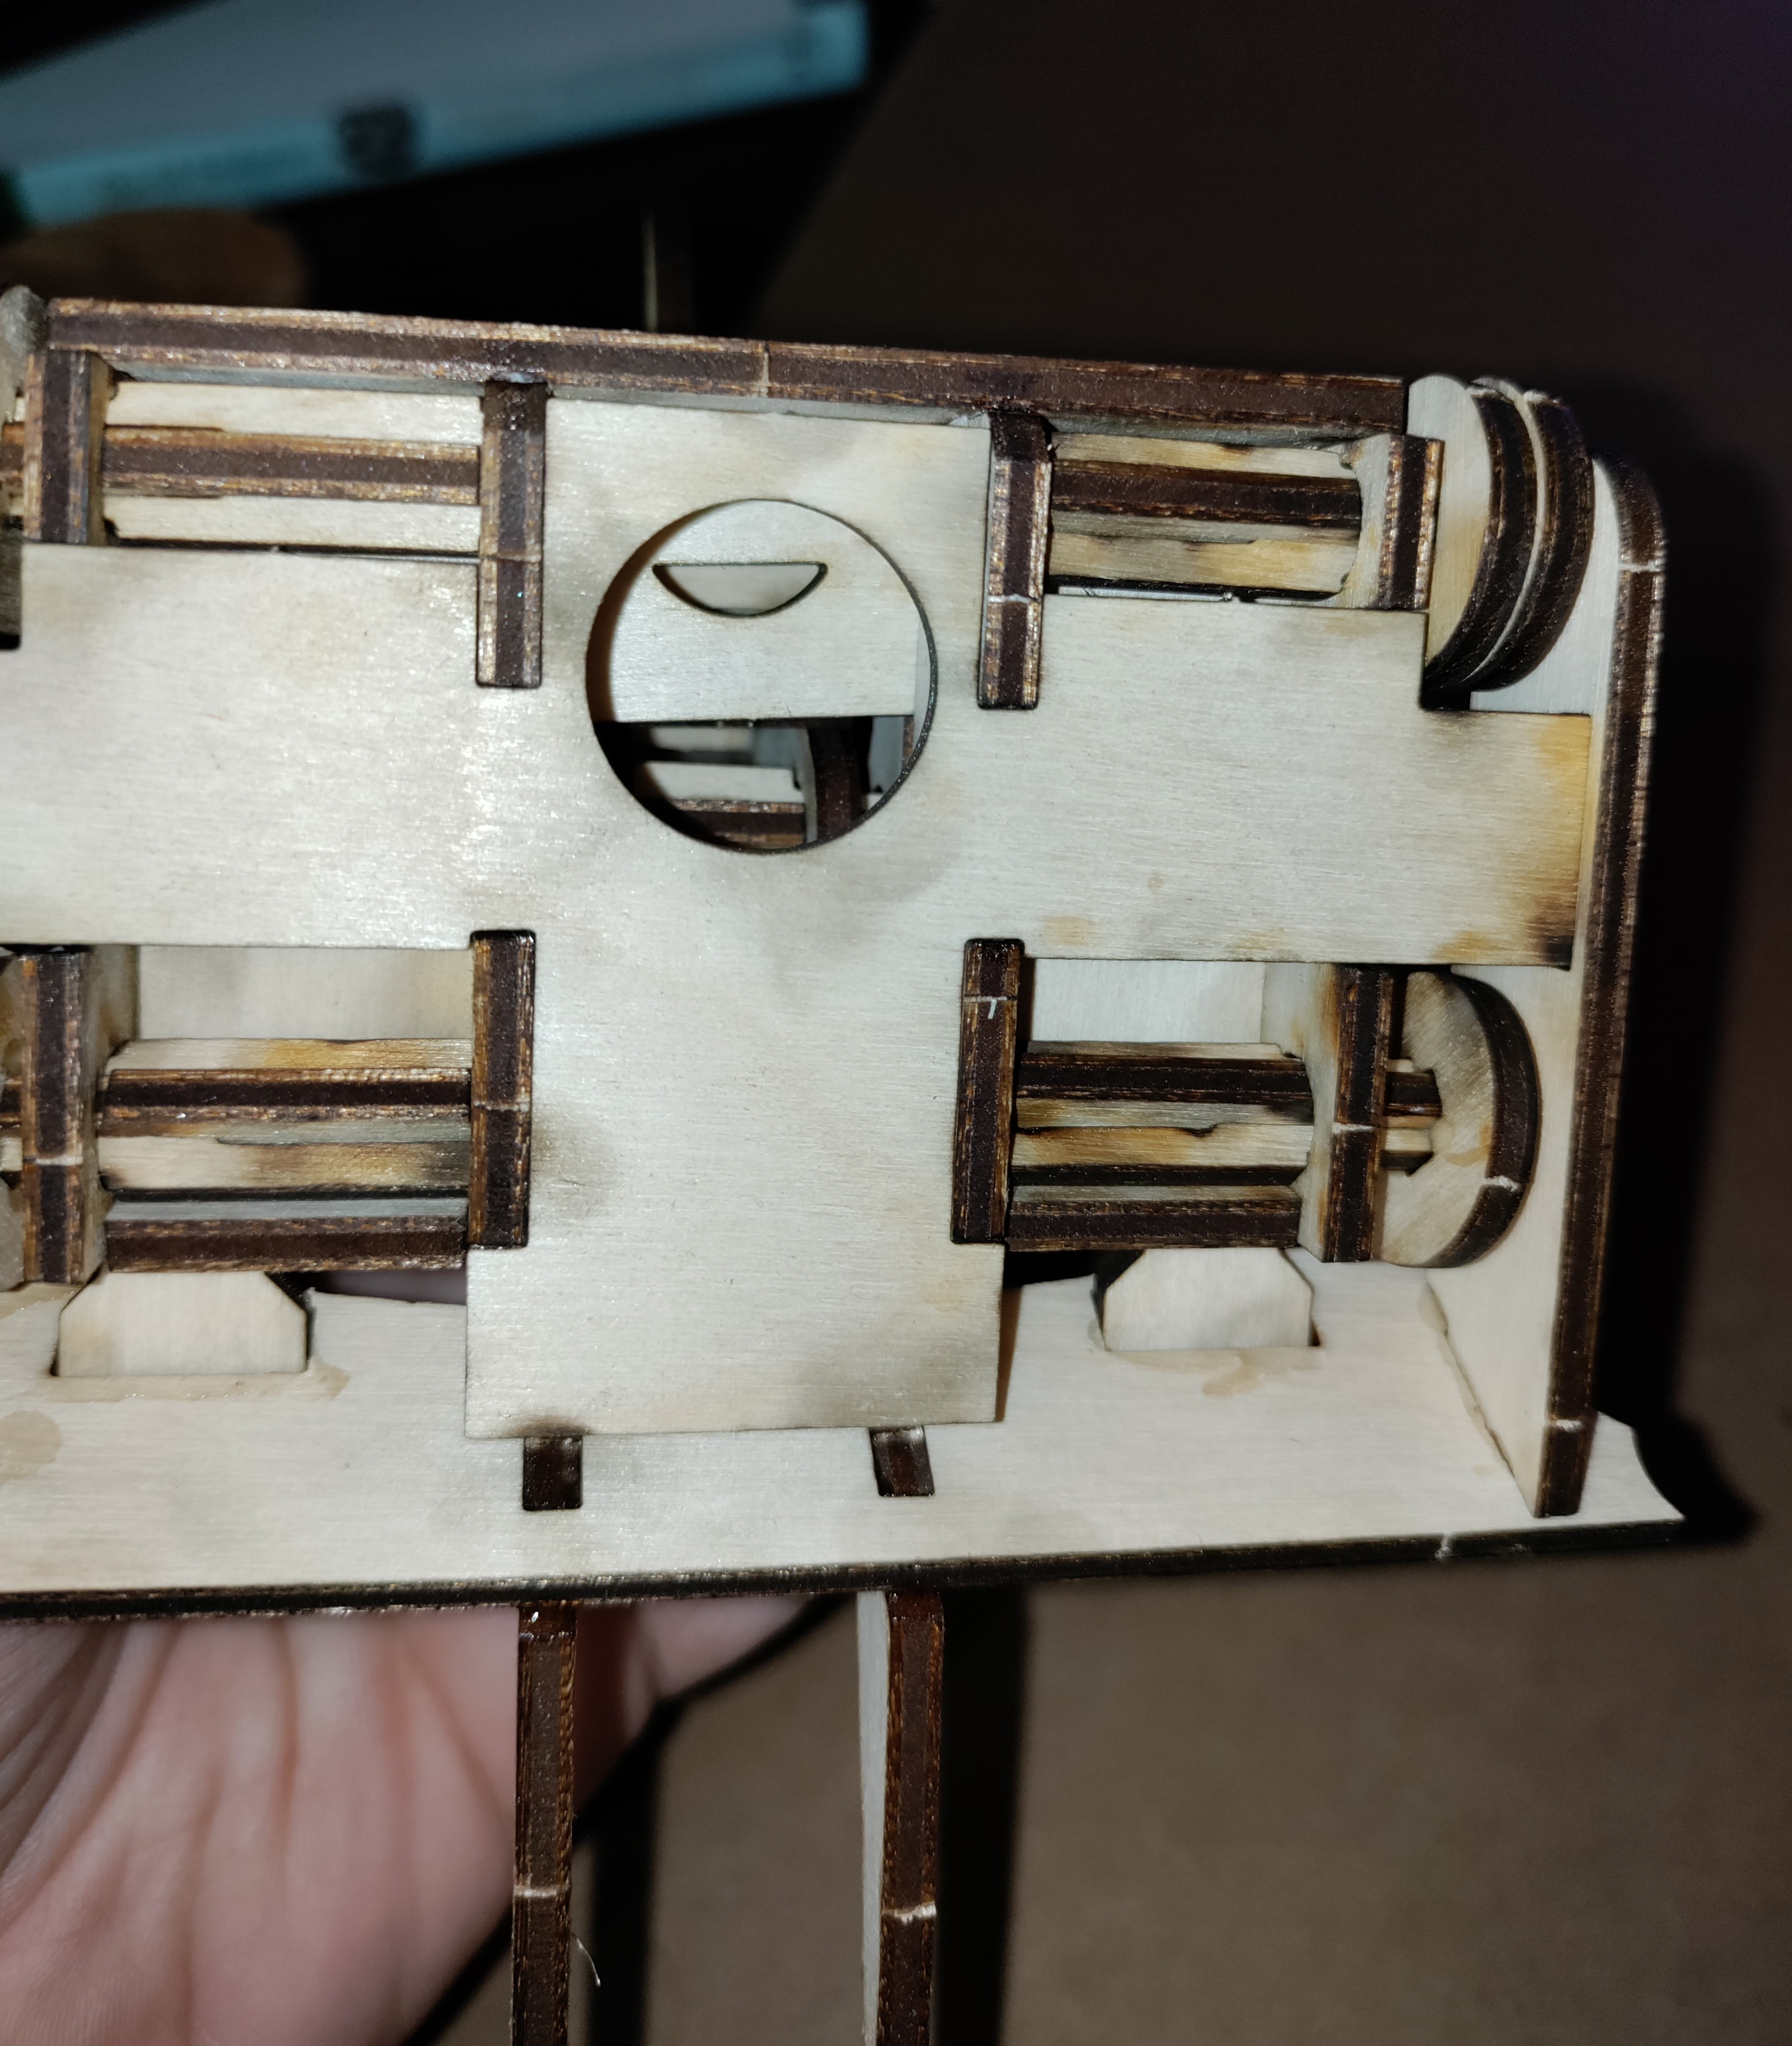
The hole in the bottom of Kraken’s Chassis allows adjustment of piece (11) to lock Kraken’s Jaw position into one of several angles.
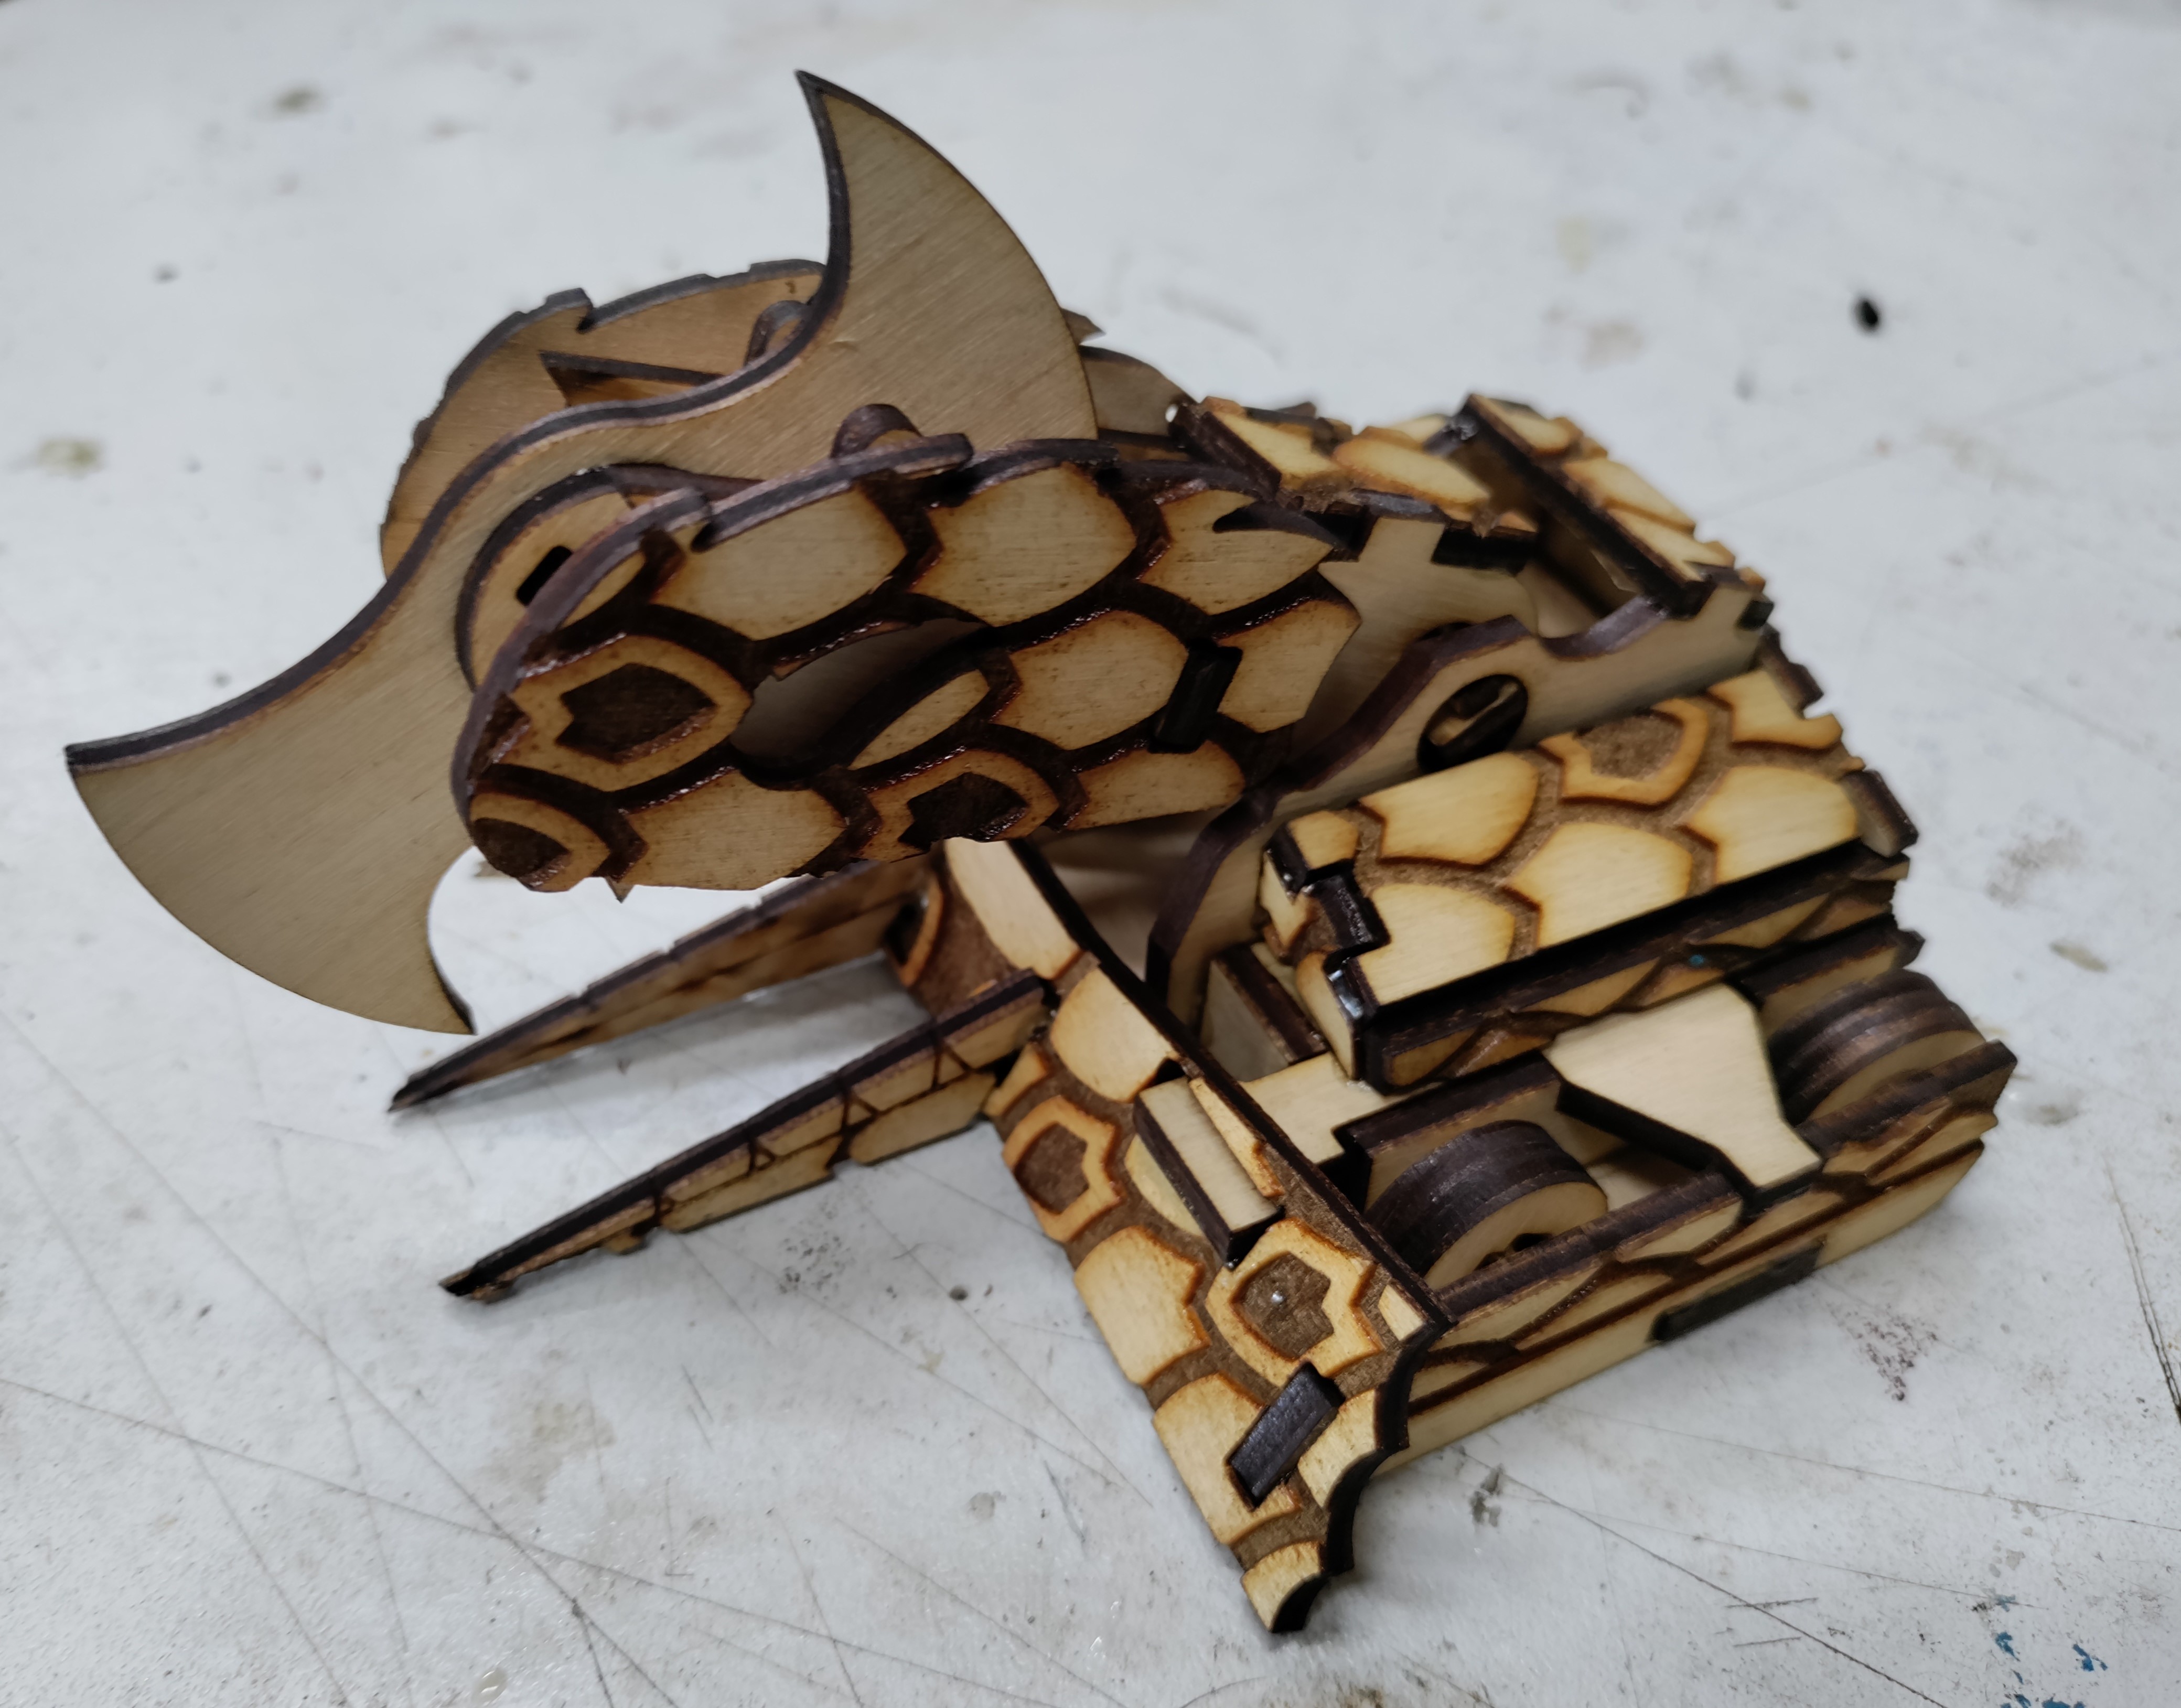
That completes your Kraken build!
